There is a dividing line between everyday domestic space- decorated, furnished and liveable- and architectural space. This is down to control of light, expression of surfaces and structure, and the quality of space in terms of volume and its sense of continuity into the outside world.
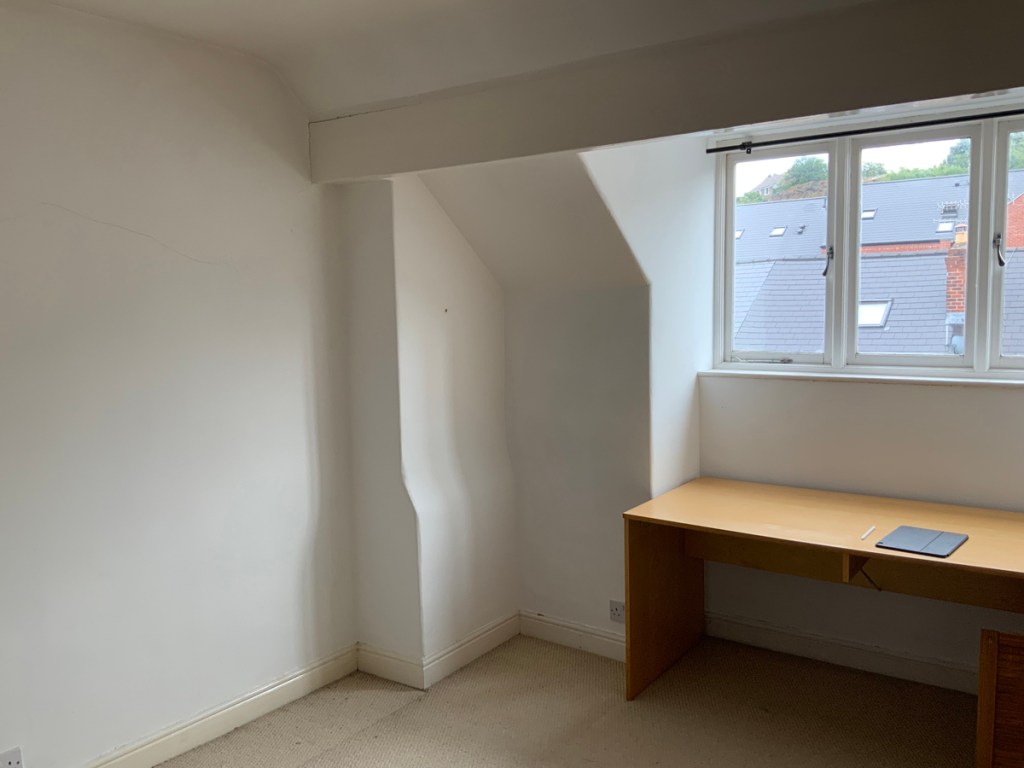
This blog documents the efforts to transform an attic space with good enough qualities and some nice features and latent potentiality, into a space with greatly improved architectural qualities.
It is not a technical blog – depths, heights, fixing methods, material spec, regulations, construction techniques and tools, powered or not, are outside of its scope, and I will happily go into those details if anyone enquires.
This was largely a self-build and the photos will speak of how I relished the constant flux and shape-shifting, changes of light, and the sight of materials just hanging out.
There was also the tradespeople that passed through the house – roofers plumbers and electricans- all out of frame with the exception of plasterer Steve whose efforts I documented and thought were nothing short of Herculean, and so has a special mention later, but all were a real pleasure to deal with.
The space was drafted up, layouts considered and a model was made. The drawings became mainly useful for measuring to estimate quantities rather than as a design blueprint, and the model mostly sat around posing, but was also used for the location and sizes of the rooflights.

The structure would mark the datum for intervention and I was letting it all play out, enjoying the role of client-builder-designer and the experimentation it permitted.
The continuity of insulation was critical to its success, and the sections below show how a patchwork of insulation (in orange) and cold surfaces made the room hard to keep warm, and how a triangular arch of continuous insulation now keeps the warmth in with more evenness of temperature across the room.
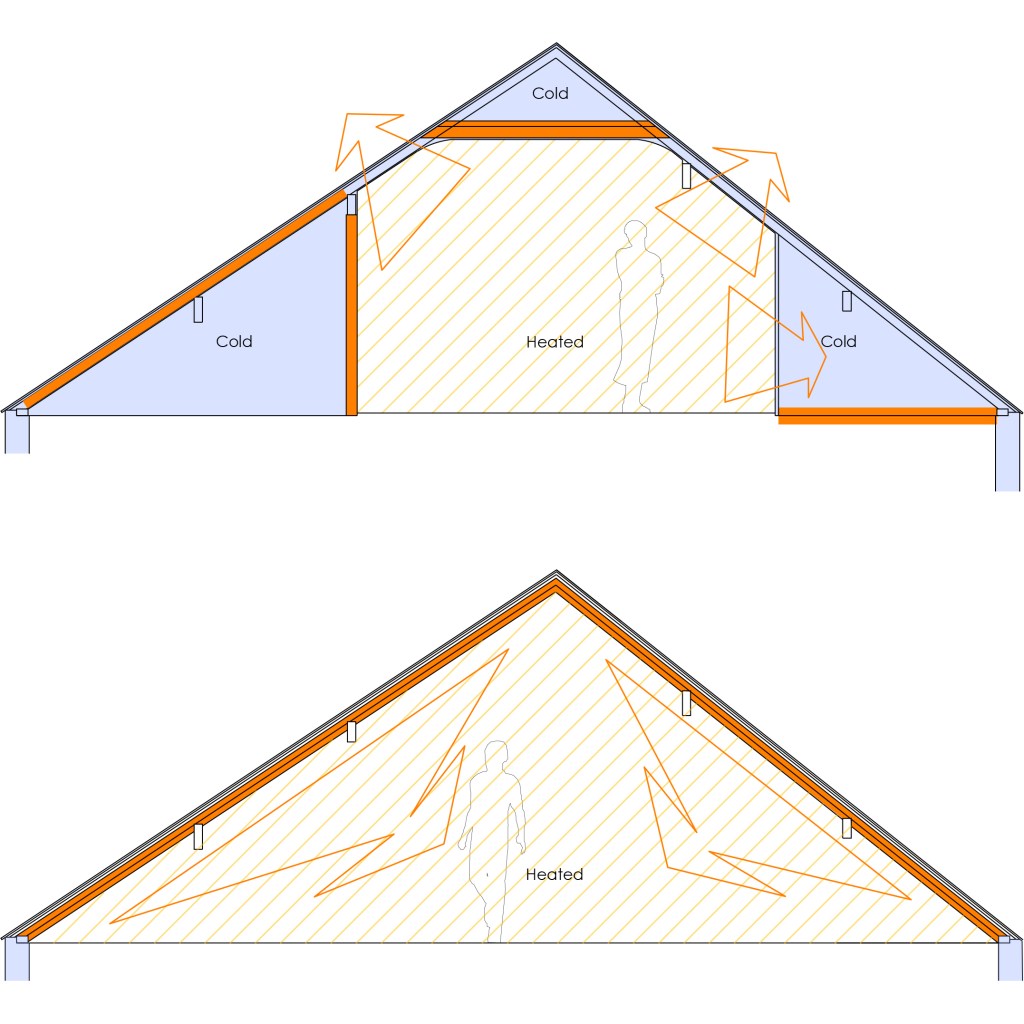
Having gone through a couple of winters it is undoubtedly working for comfort with improvements to the whole house. However, there is a problem with snow not melting. It builds up to such a depth that in the first winter it eventually slid down with great weight and ripped off the old gutter! I will brace myself every winter.
The large attic storage space was useful, but if you have the space then it continually silts up with the forgotten and unneeded if unchecked, requiring an annual sort and fling.
So, I wanted to eradicate that in the name of space and light. Our daughter would be starting her A-levels, and this was an opportunity to see an impressive transformation in the volume and expression of structure, particularly as she was showing signs of going to study architecture.
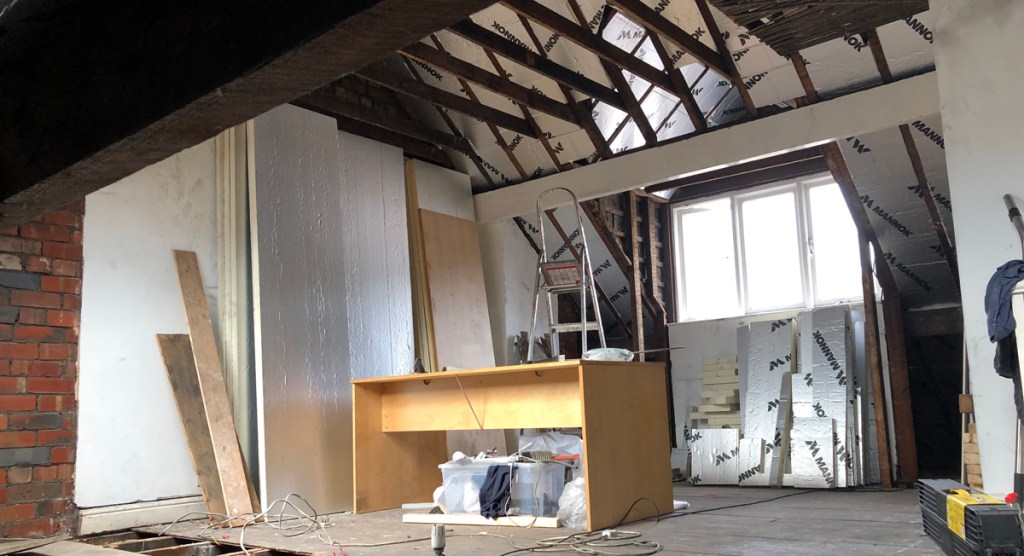
The Dirty Work Begins
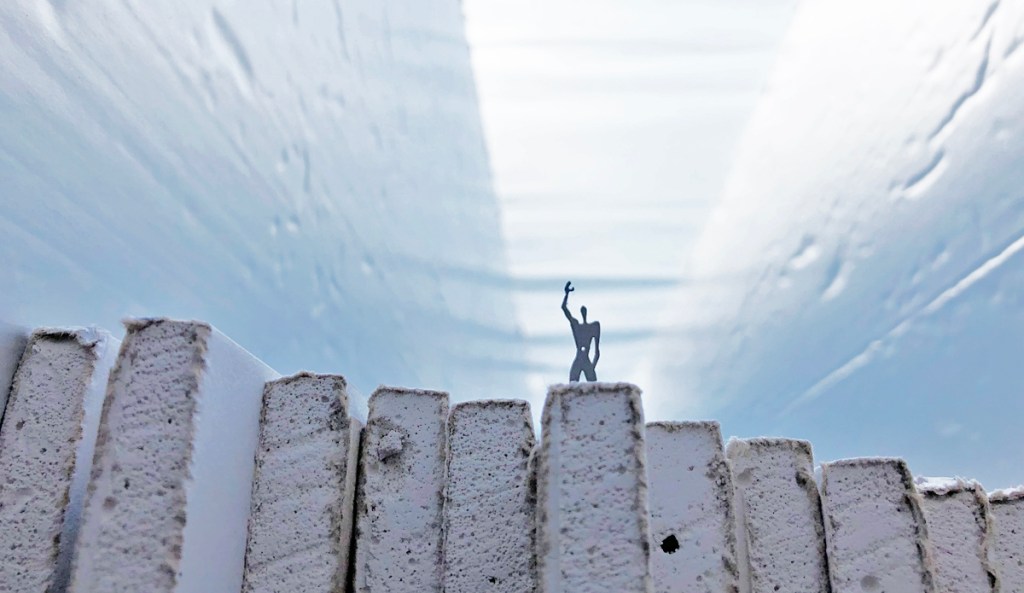
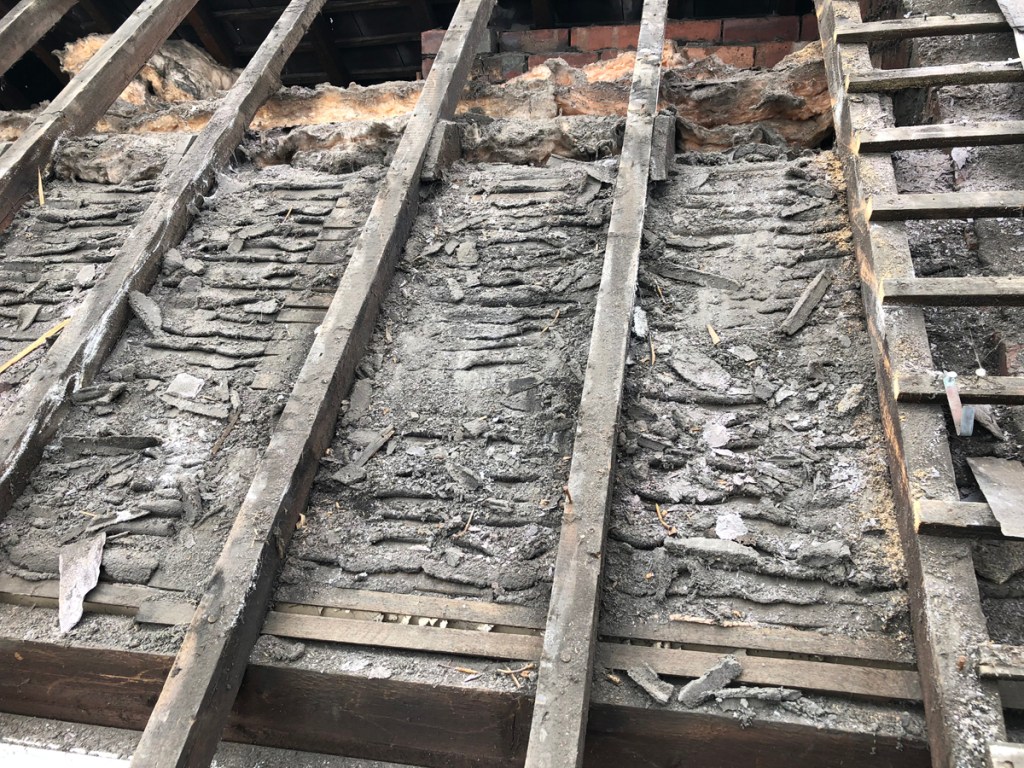
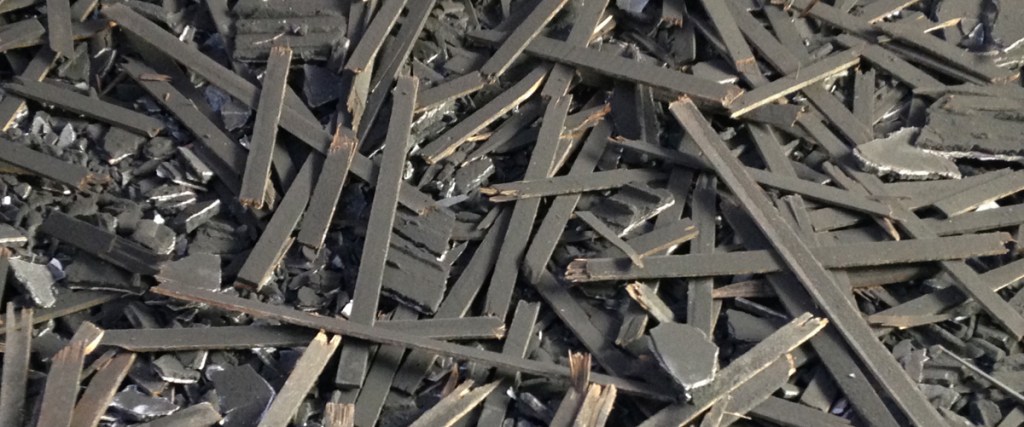
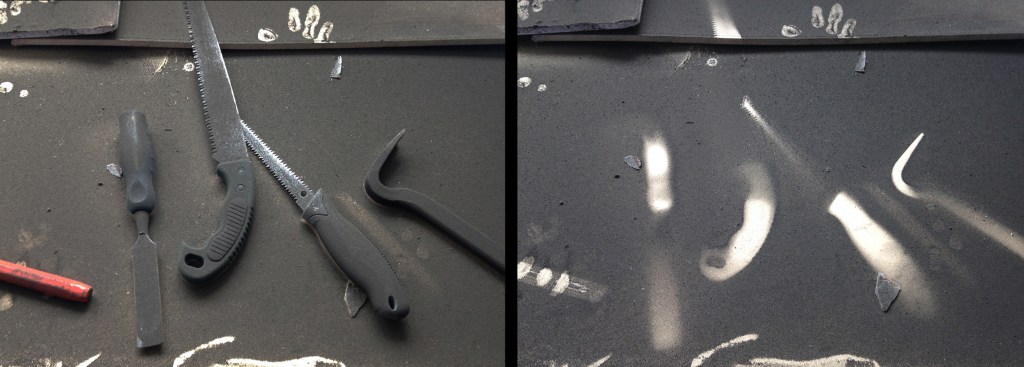
Hidden behind the white finishes of these houses is decades of soot and dust that has found its way in between the uneven slate tiles and other routes, stored up out of sight behind the wooden lathe and plaster that made up all the walls and ceilings below the roof. The side walls were brick and plaster and also spewed out black soot.
All had to be stripped off and was being done in parallel with the work of two roofers.
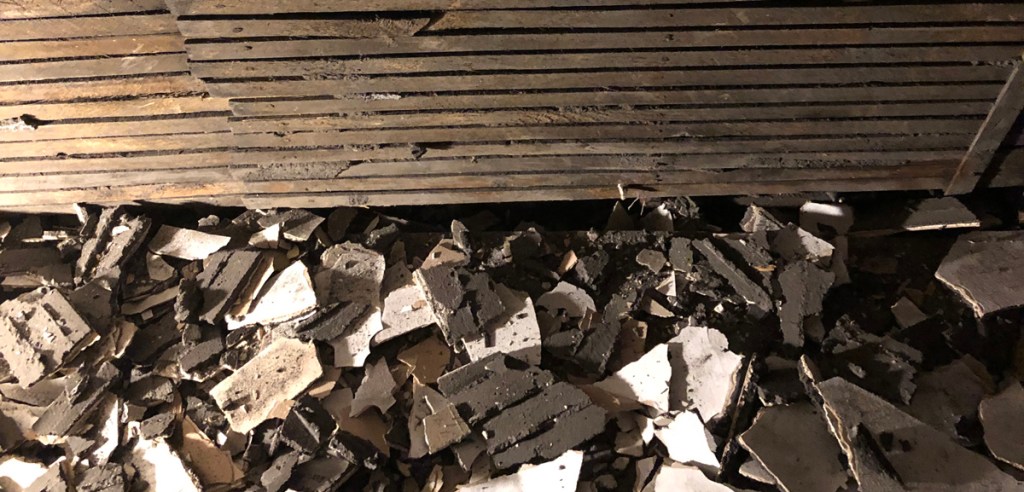
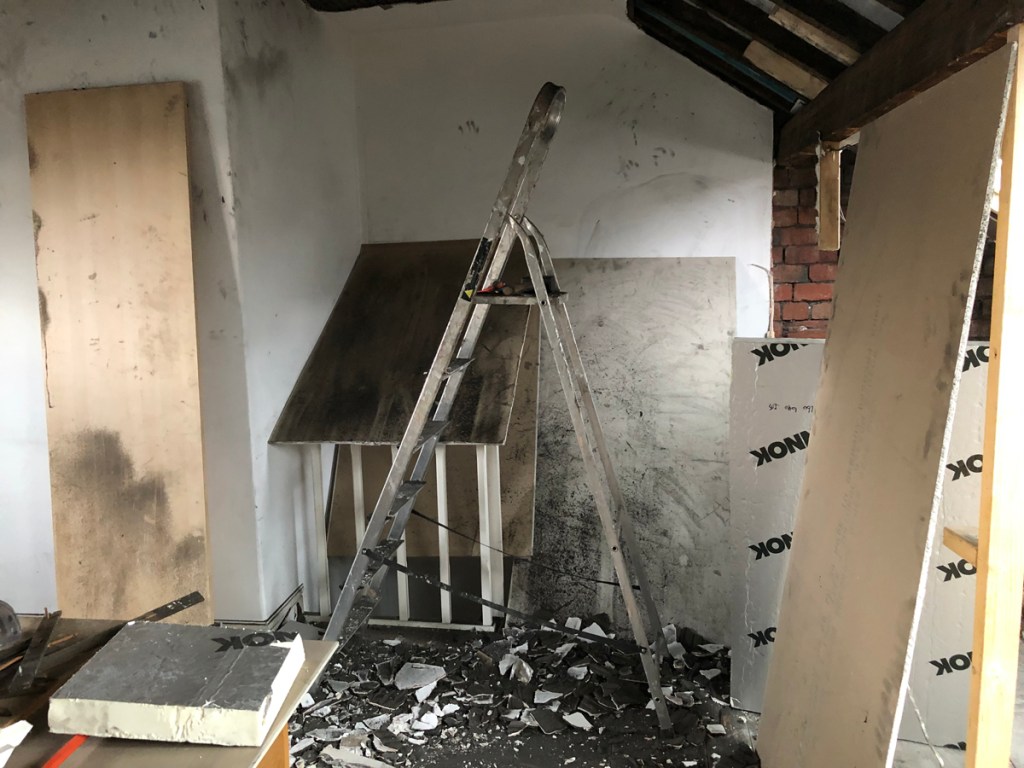
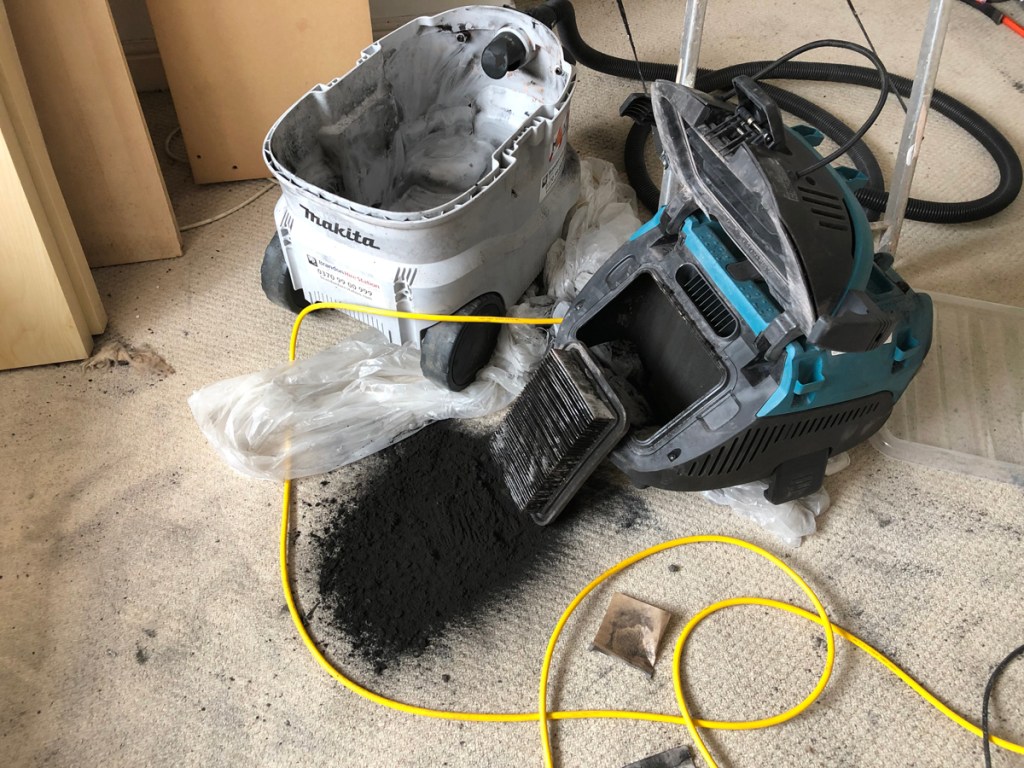
“Demolish it all in one go and get out of there to leave it to settle”- advice after the fact. I come from the tidy-up-as-you-go school and tried a more controlled response sucking up the soot with a big hired vacuum cleaner as it became revealed. It was never quite happy with the job, the filter clogging regularly.
And then I met my hero, Henry. Such a cheery little fellow- design genius, powerful suction, and just great to have around, smiling away amidst the chaos. So visible too- see how it delights in every shot it is in.

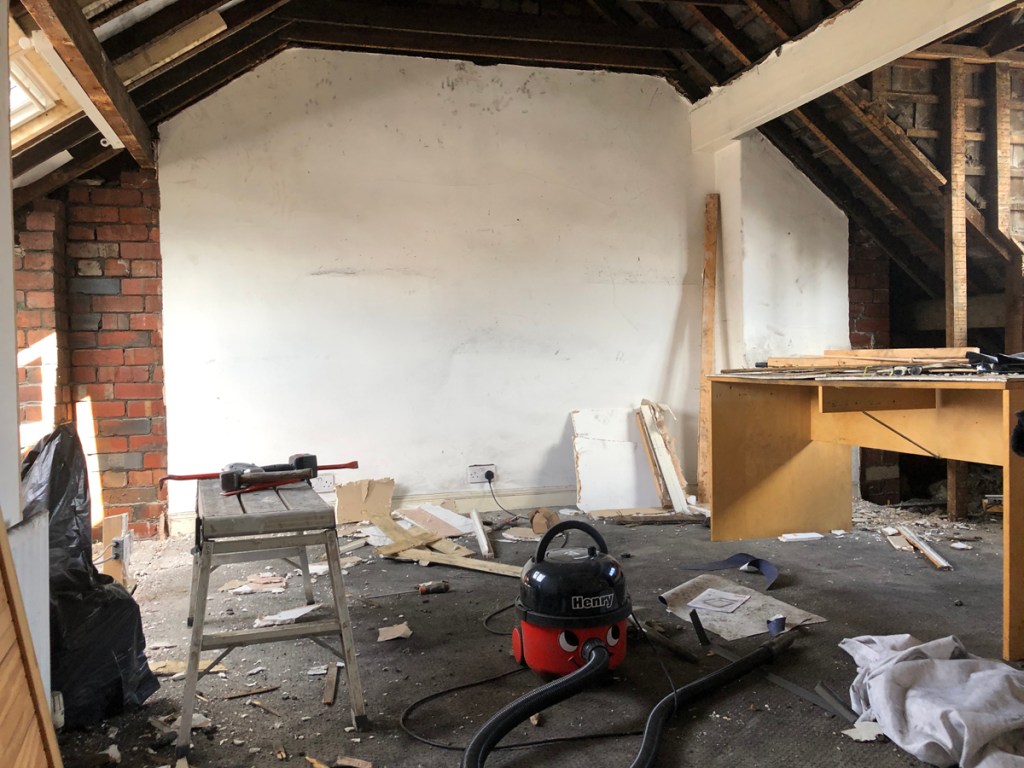
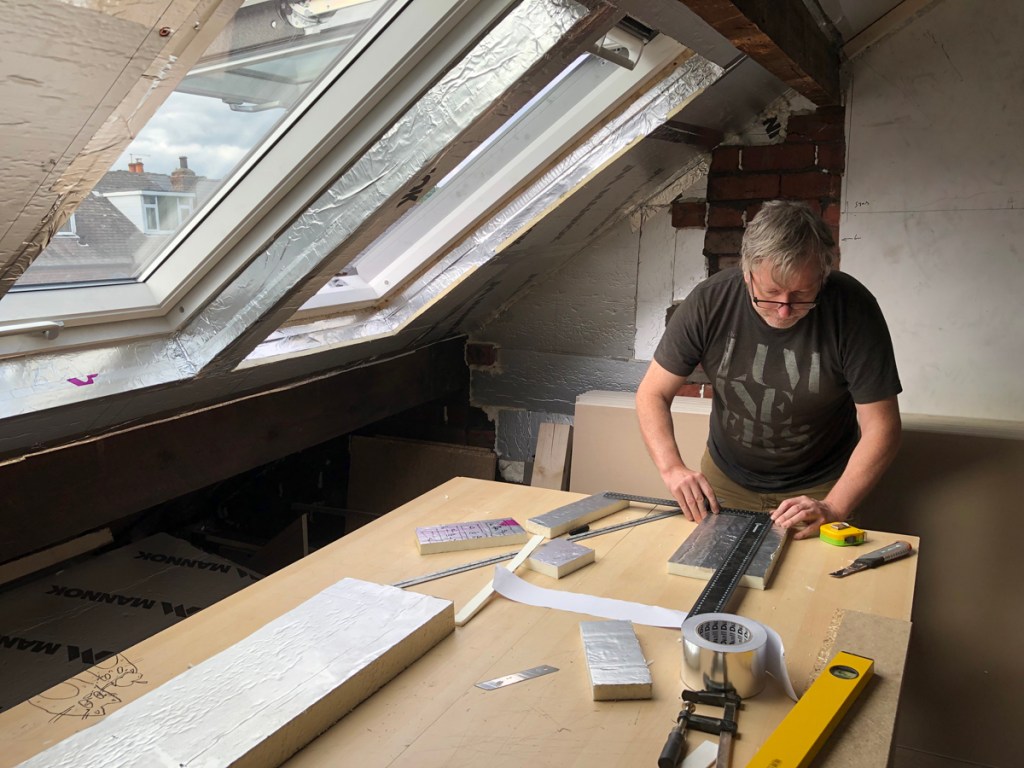
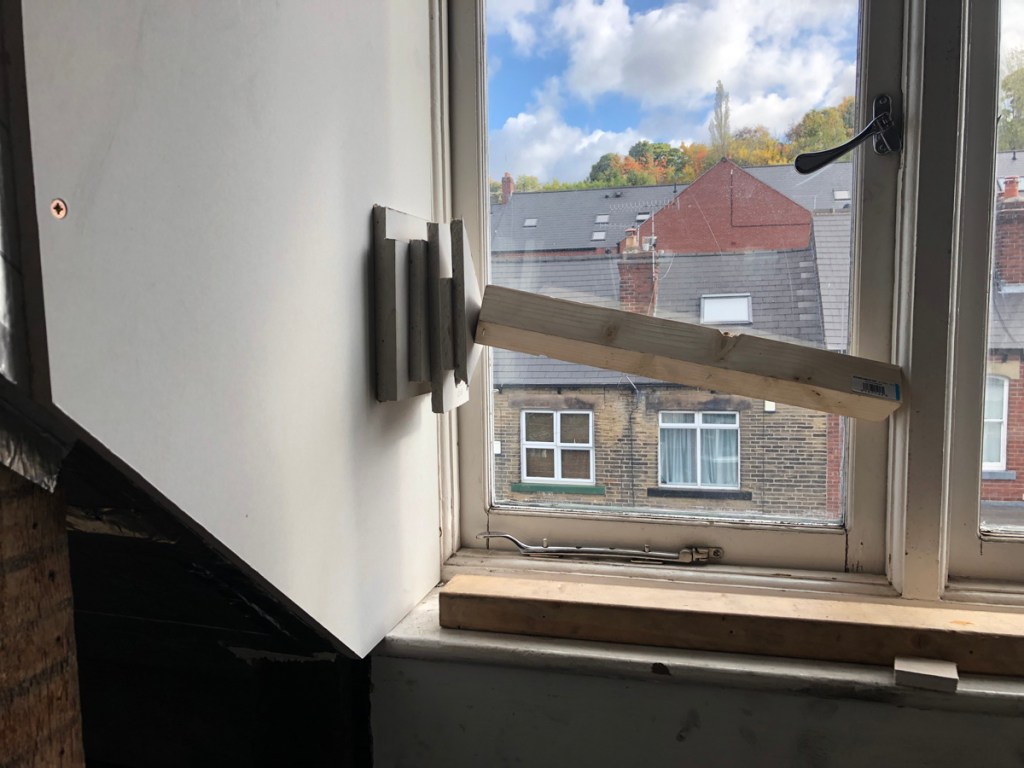
The west facing Velux windows finally delivered the sunlight I’d dreamed about for more than a decade, delayed satisfaction after prohibitive cost and lack of time for a self-build became seasoned excuses delaying this moment.
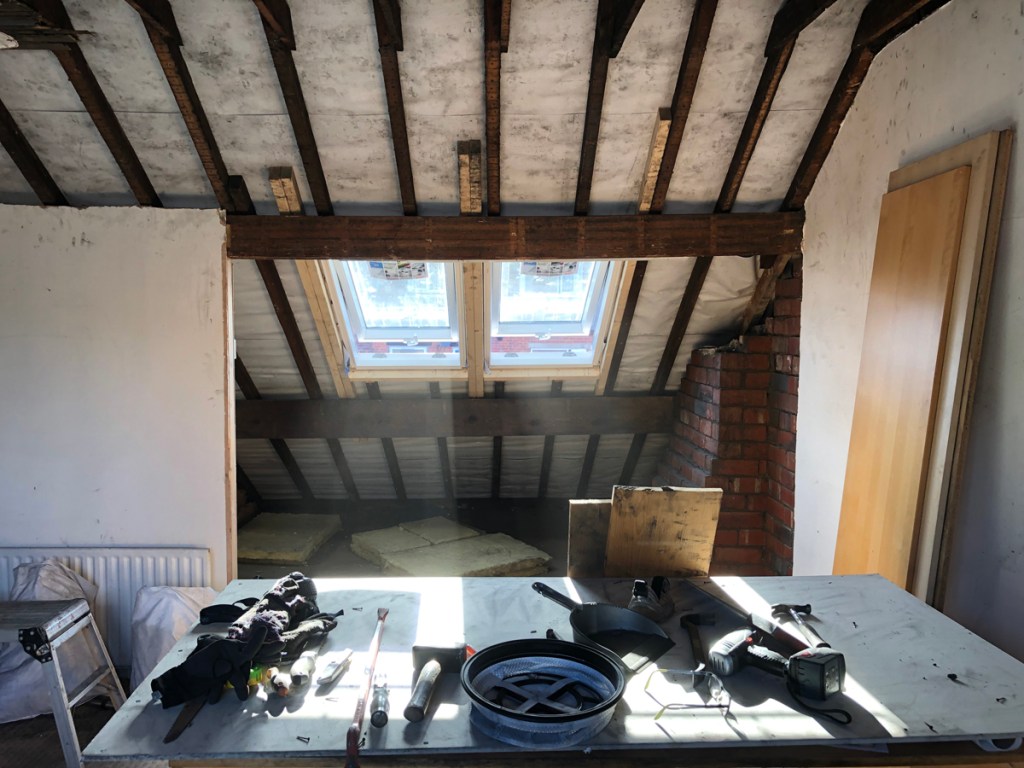
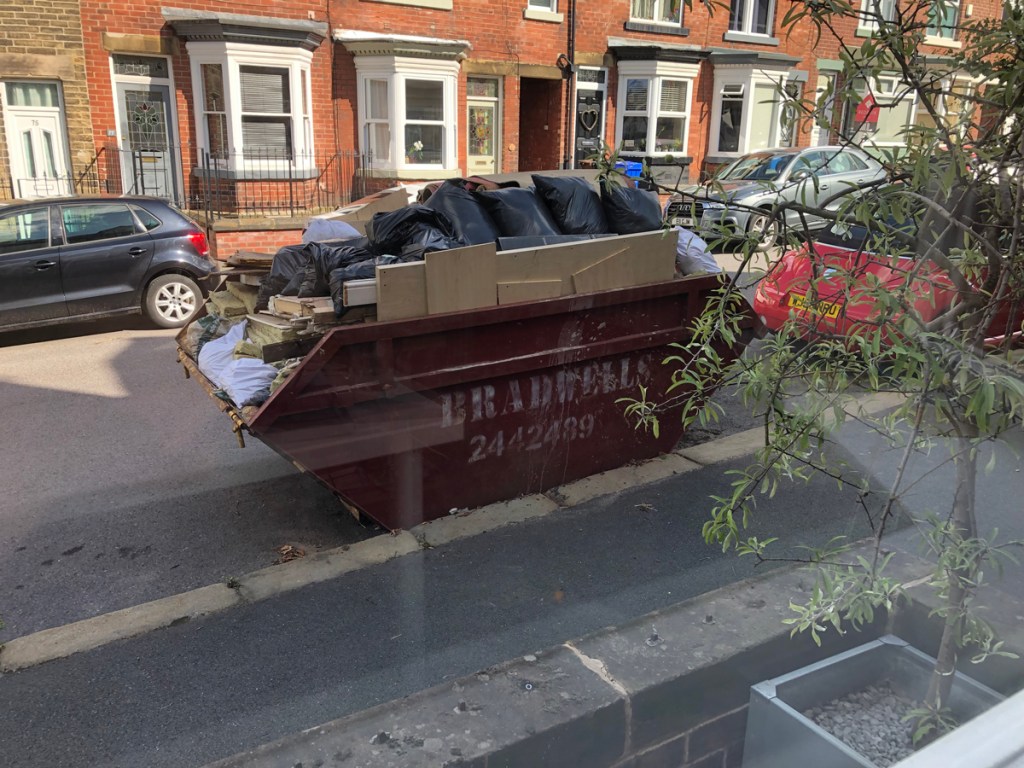
My aesthetic urges made for a slower process, keeping the site tidy and clean. Having a nicely composed skip was an extension of this and material was arranged instead of flung . Note the so-called “greedy boards” that increase the volume, and we still got through three skips!
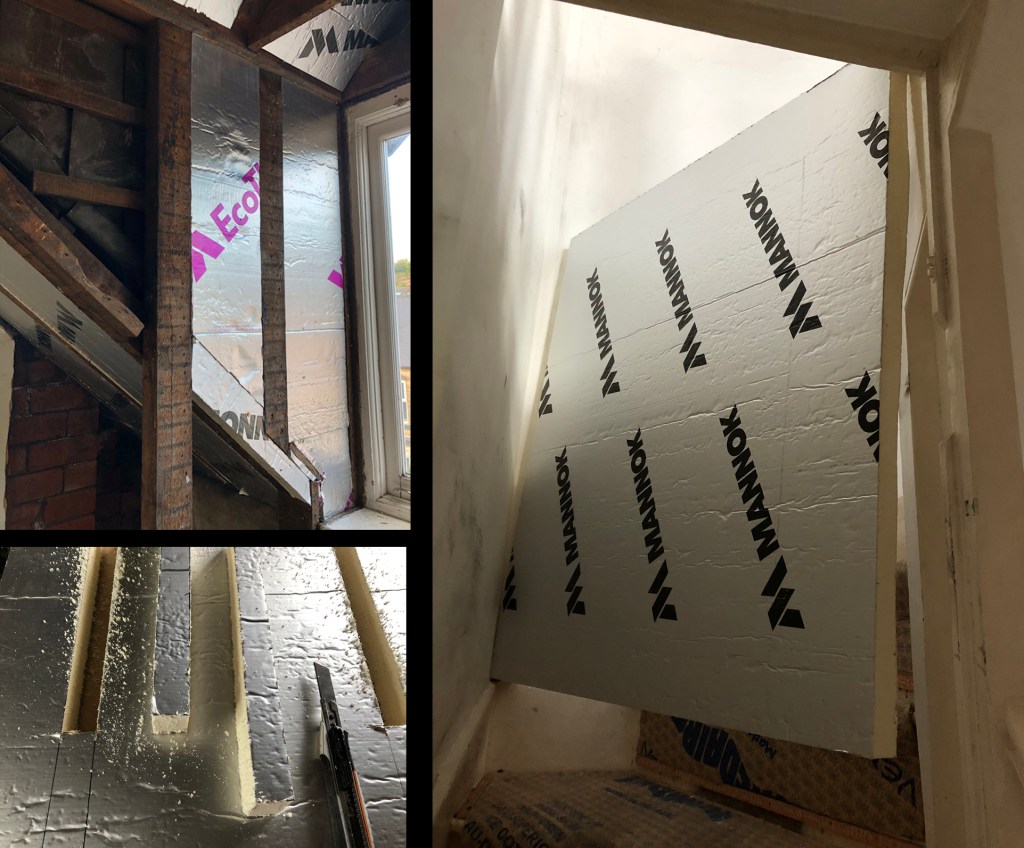
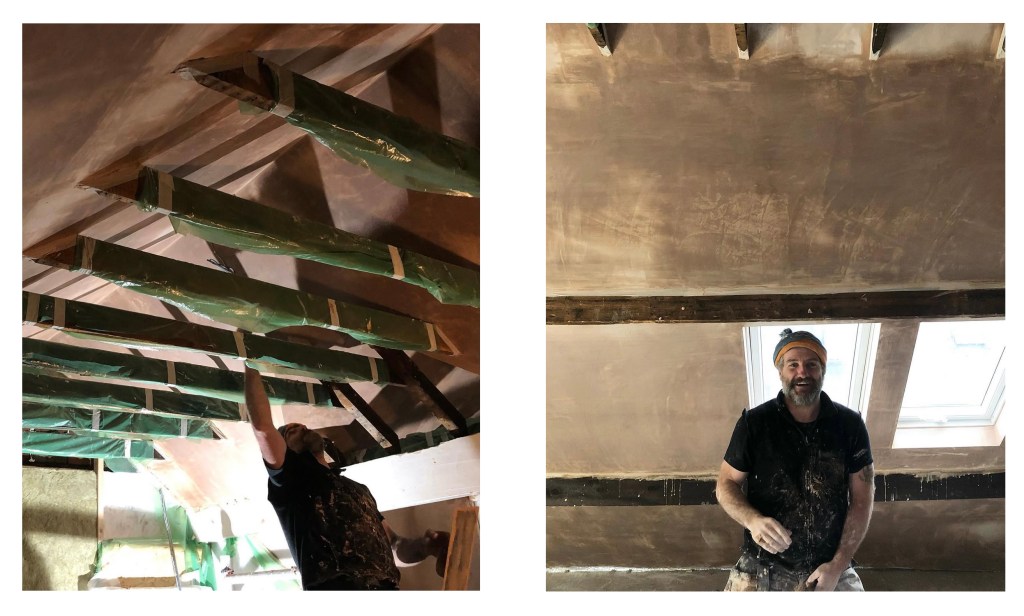
Insulation was placed between the roof rafters and I was very fussy about fitting these snugly to the irregular geometry of the rafters where a builder would cut them to the narrowest width and fill the gap with foam. Such care for something that is going to be covered up but it felt thorough.
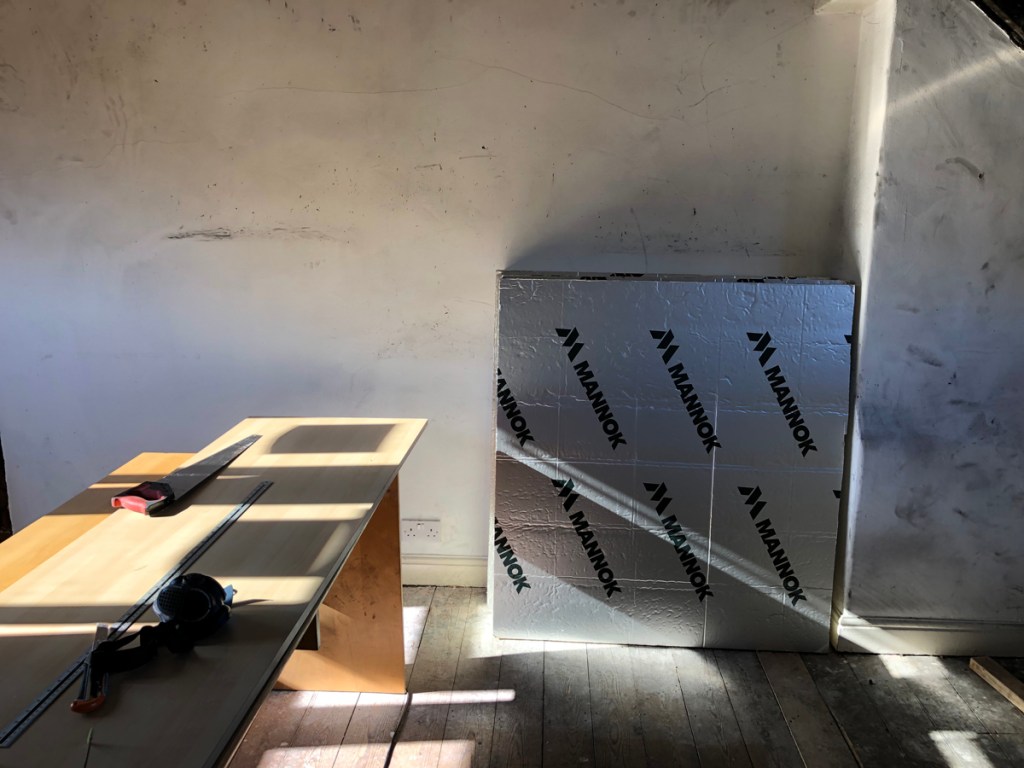
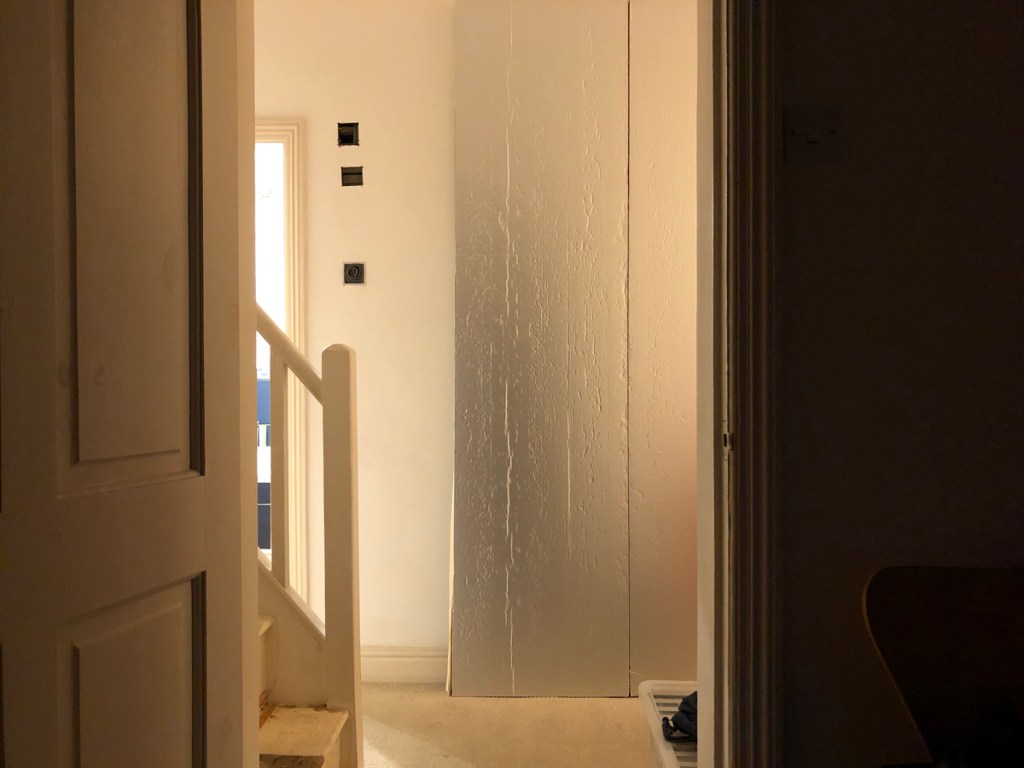
The geometry of the winding stair determined the shape and depth of the board transported up, otherwise the reflective insulation made for the light and airy phase of the work and I enjoyed its presence around the house.
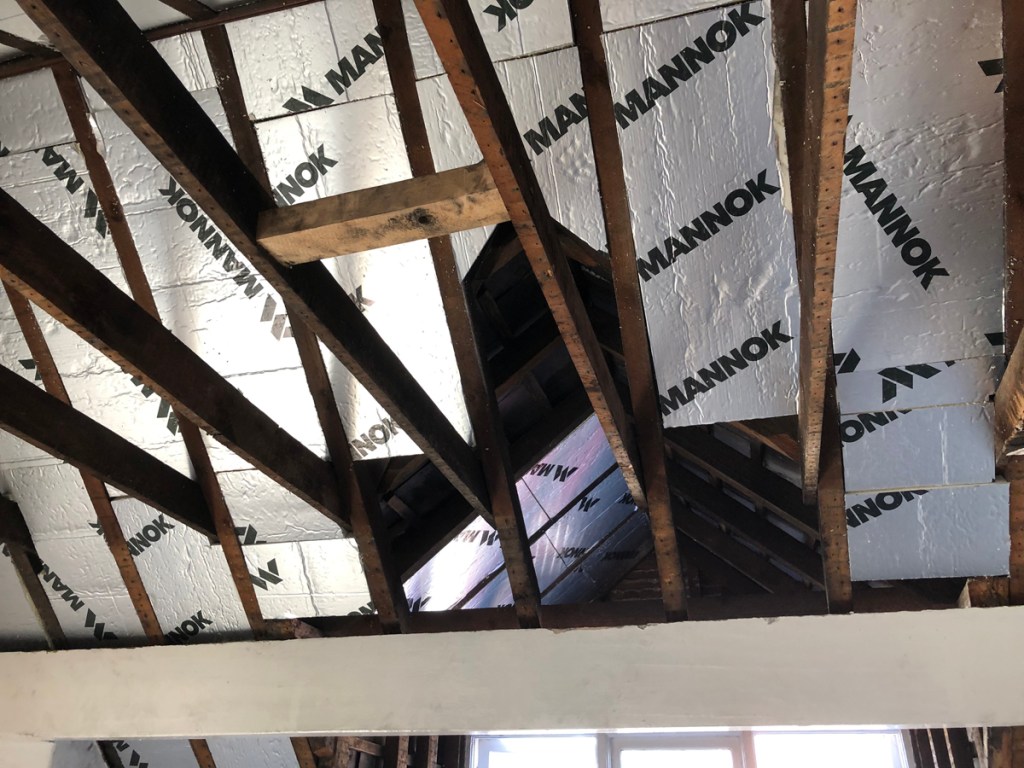
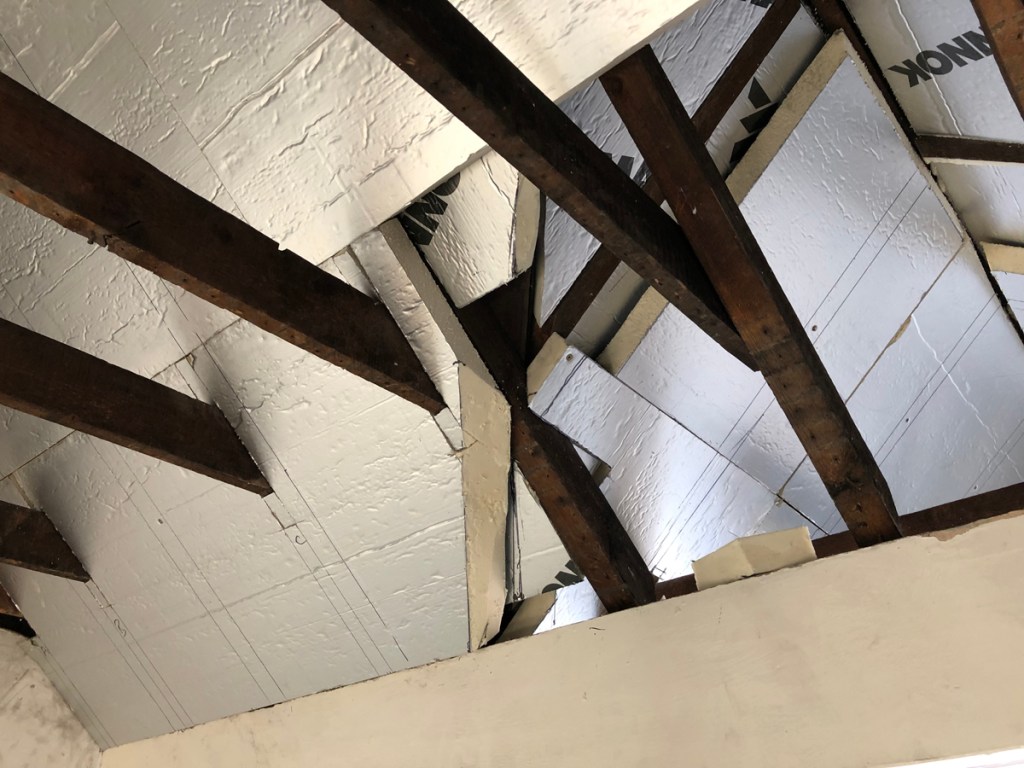
Insulation was then laid continuously over the rafters to build up its depth and eradicate cold bridges.
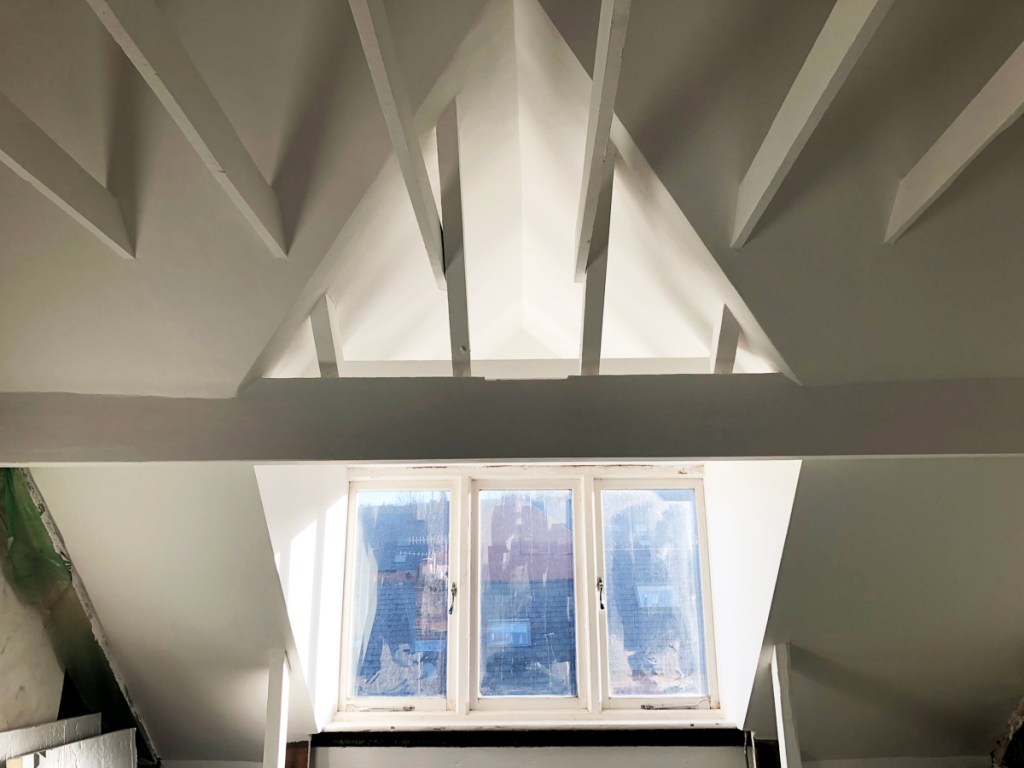
The complex geometry of this junction where the dormer was opened up required a bit of fathoming in order to get continuous smooth surfaces, and this was one of the great satisfactions overall – working things out and prevailing.
This build was of course a job better shared and the two weeks we could afford for a friend to come up and help was an incredible boost.
Plasterboard is then fixed over the insulation ready for the plaster finish.
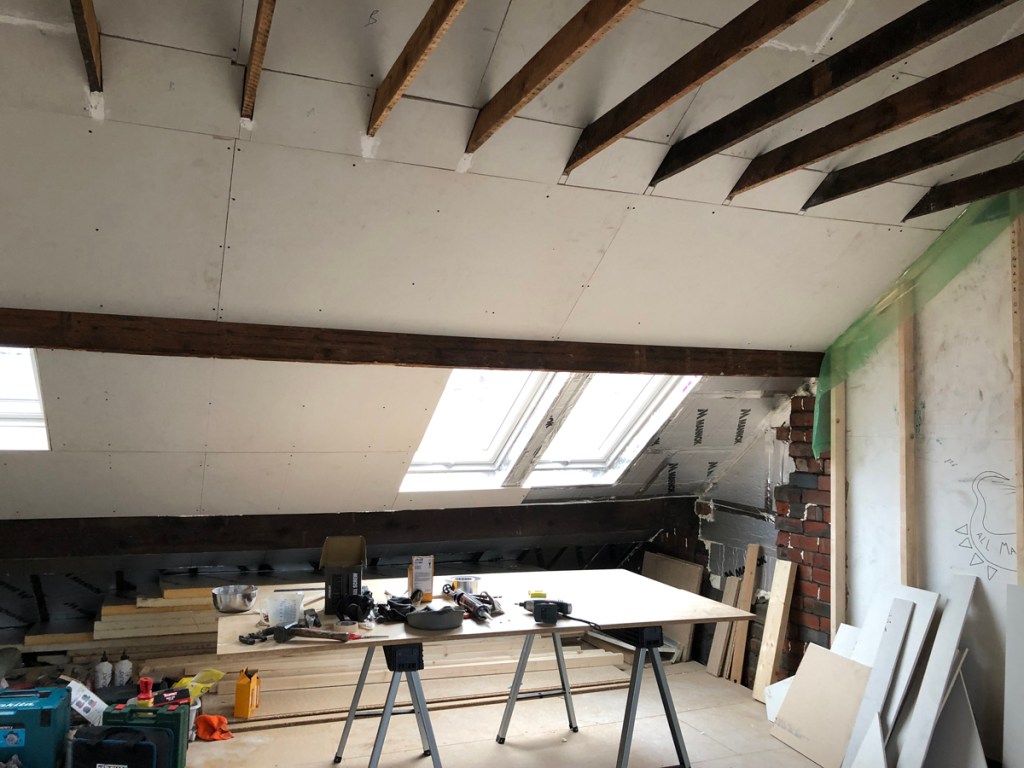
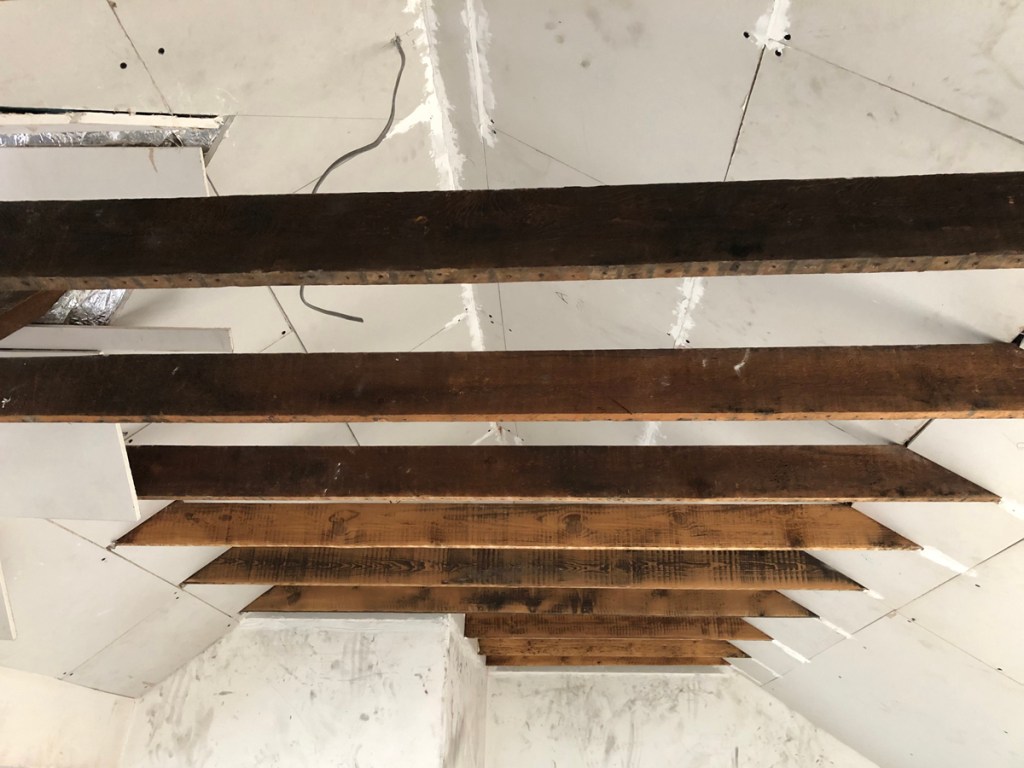
At this point below I considered exposing the timber ceiling joists, but I wanted to make the spaces about the subtle layering of white against white rather than expressing characterful timbers- and I was put off by the nail holes.
Glued where it can’t be screwed.
As a self-builder you start to wonder if you can turn your hand to anything, but plastering these large areas, negotiating the timbers and the slope down to the floor- no way! And this is where the aforementioned heroics of plasterer Steve Kitagawa came in.
The white paint started to pull it all together.
Attention could now turn to the end feature wall exposed across almost the full depth of the room and up the full height. Wall art had to be covered for future generations to reveal.
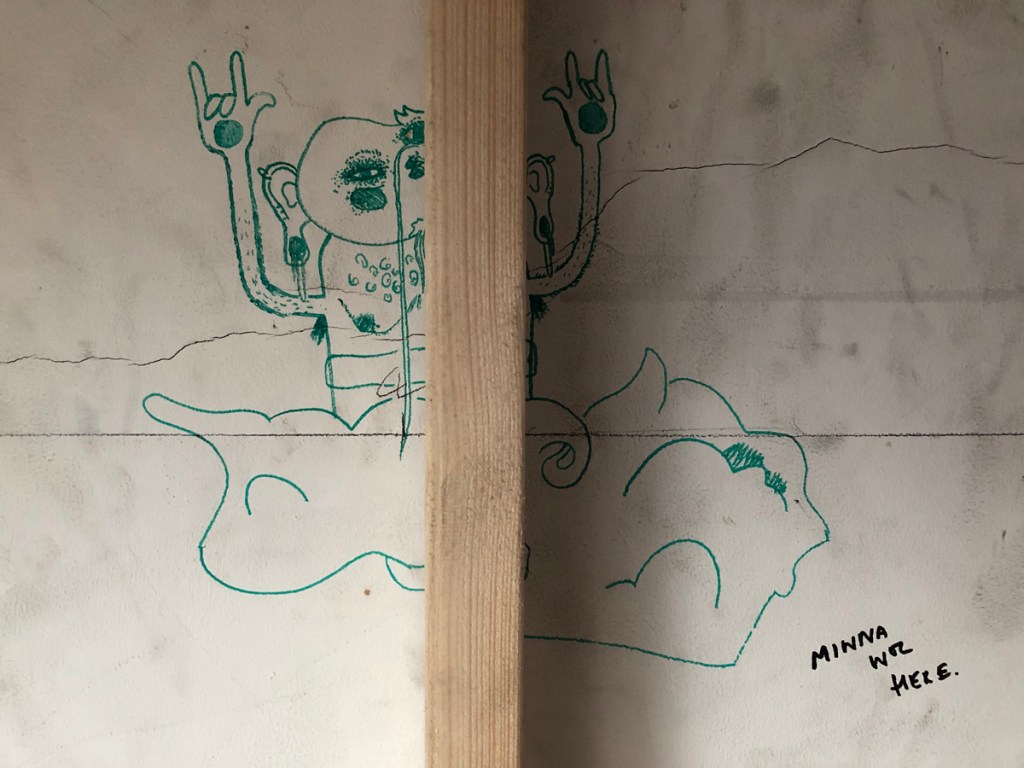
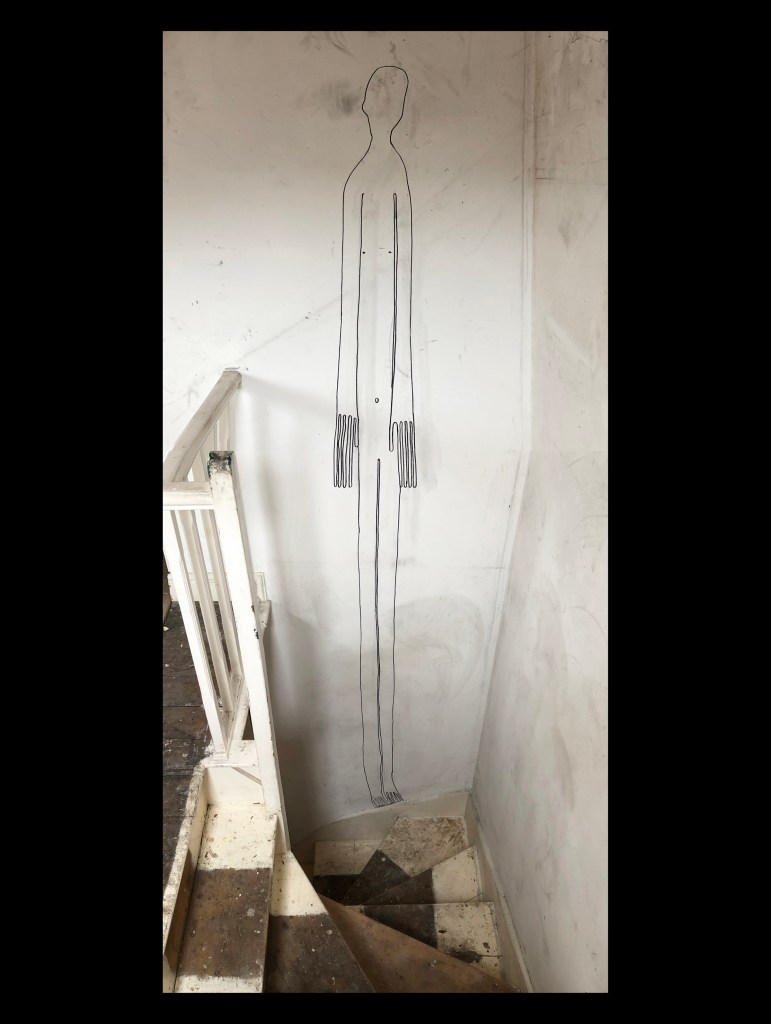
The “Attic Spirit” above the stairs definitely needed preserving- a representation of daring, parental defiance and quite skilled drafting whilst in the midst of giving very occasional assistance. It can still be faintly seen – even more ghost-like- behind one coat of paint.
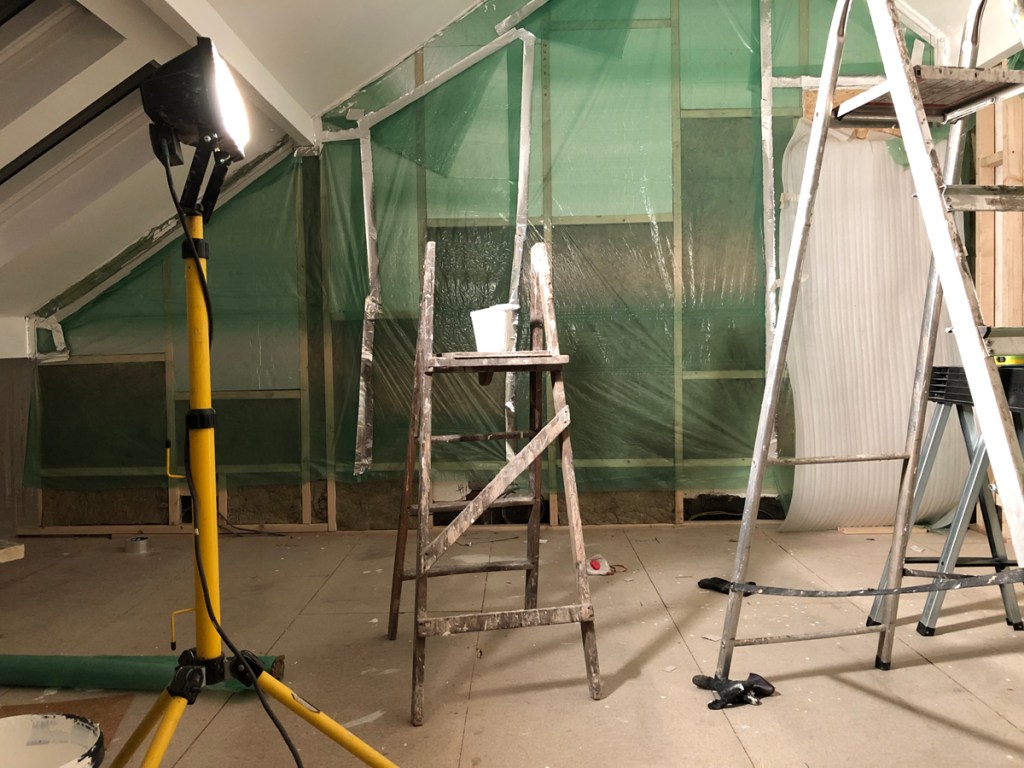
The feature wall needed to be insulated firstly for thermal reasons (the next door house was 600mm lower leaving a band of cold wall along the top) and acoustic reasons (reducing noise transfer between the houses). The insulation was fixed between a timber frame that was not allowed to touch the wall (noise transfer).
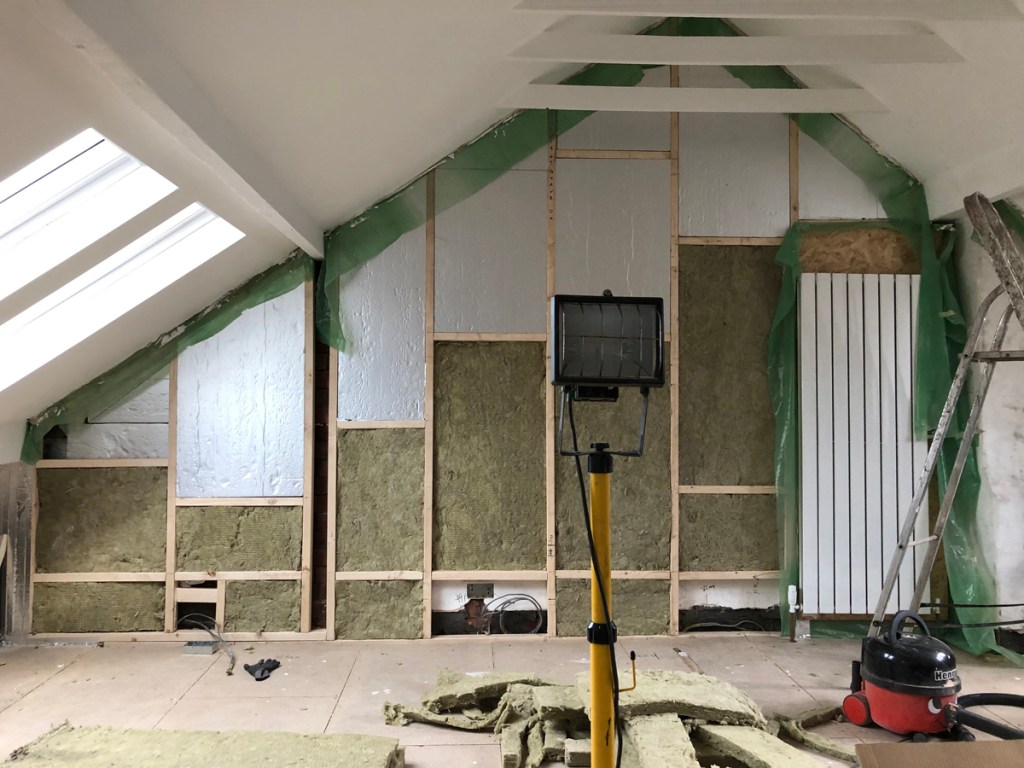
The green membrane prevents moisture from inside the room getting to the timber, but also told me when there was still little breezes blowing in.
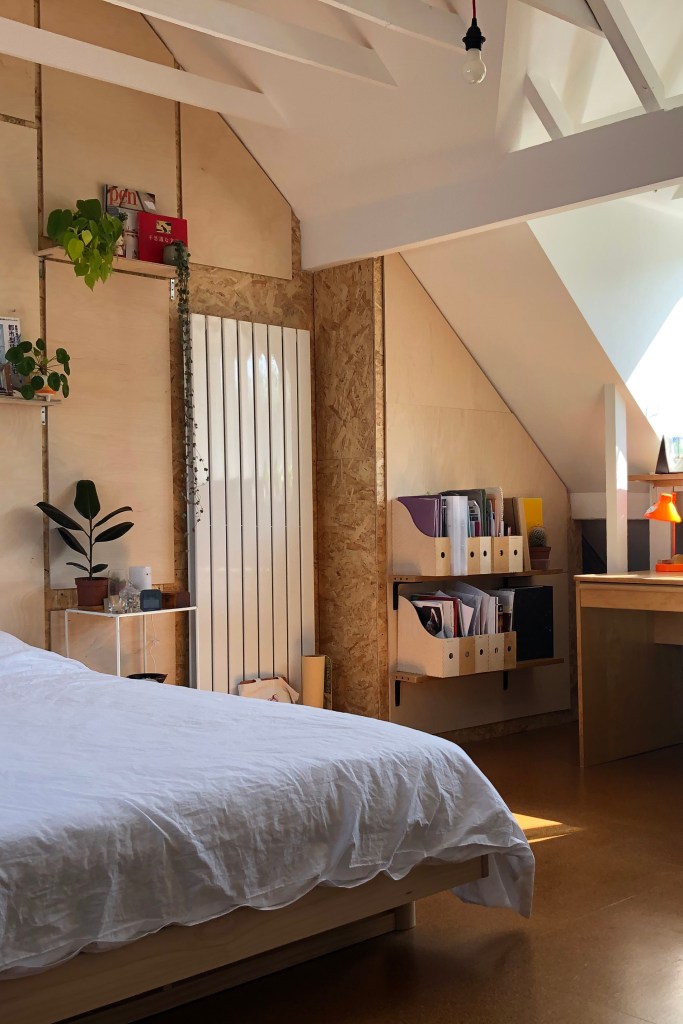
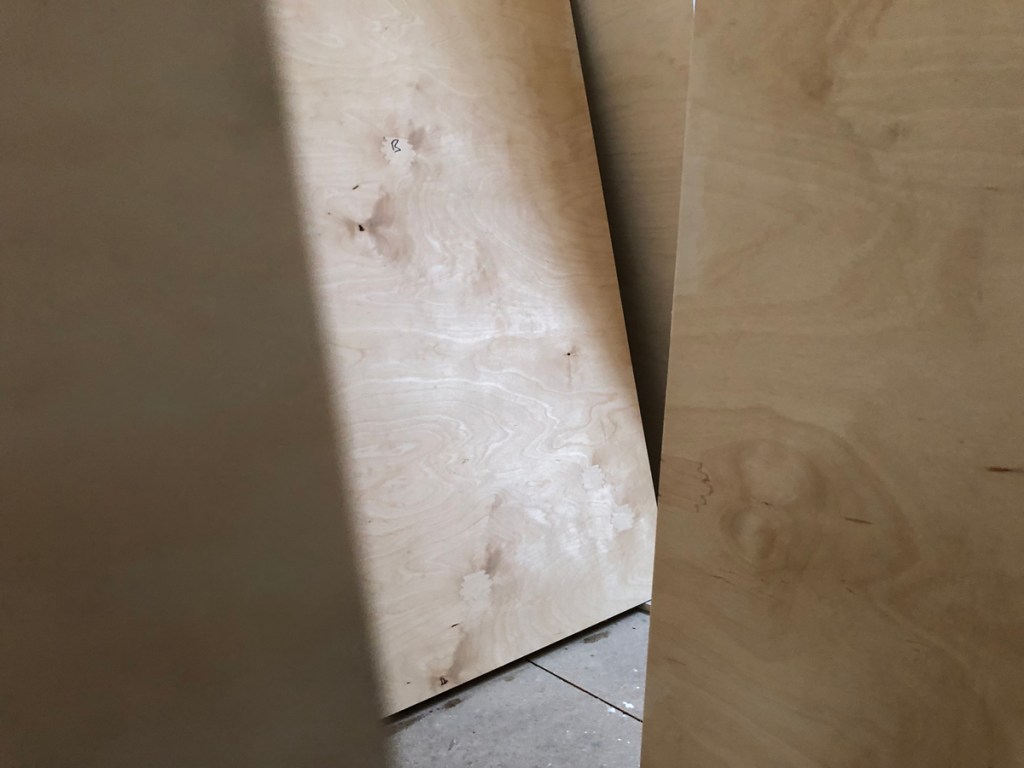
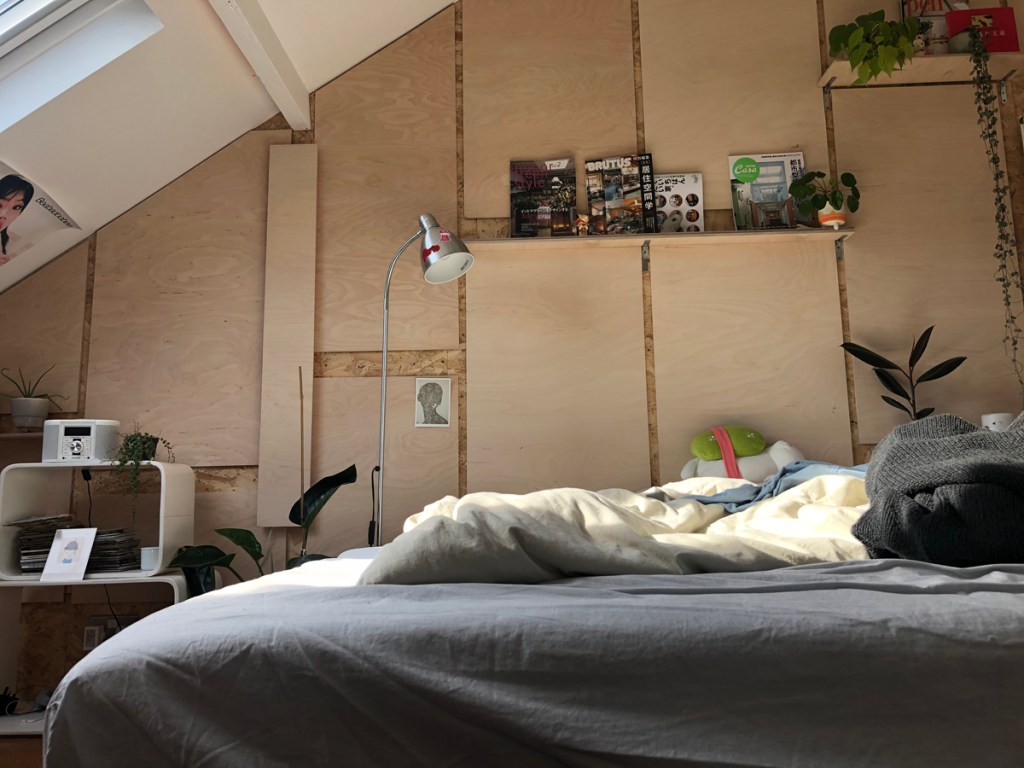
So how to cover over all of this, remembering that it is a feature wall? It was always going to be birch ply having first seen some lined interiors when it was coming into fashion back in the noughties.
A little along the same principals as the bright yellow wall in the dining room (previous blog) a feature wall has a bit more presence and gravitas as a character in itself – a thing of focus where the fireplace in each room used to play that roll. It is that architectural uplift this blog alludes to, and has an extra cost and subsequent value.
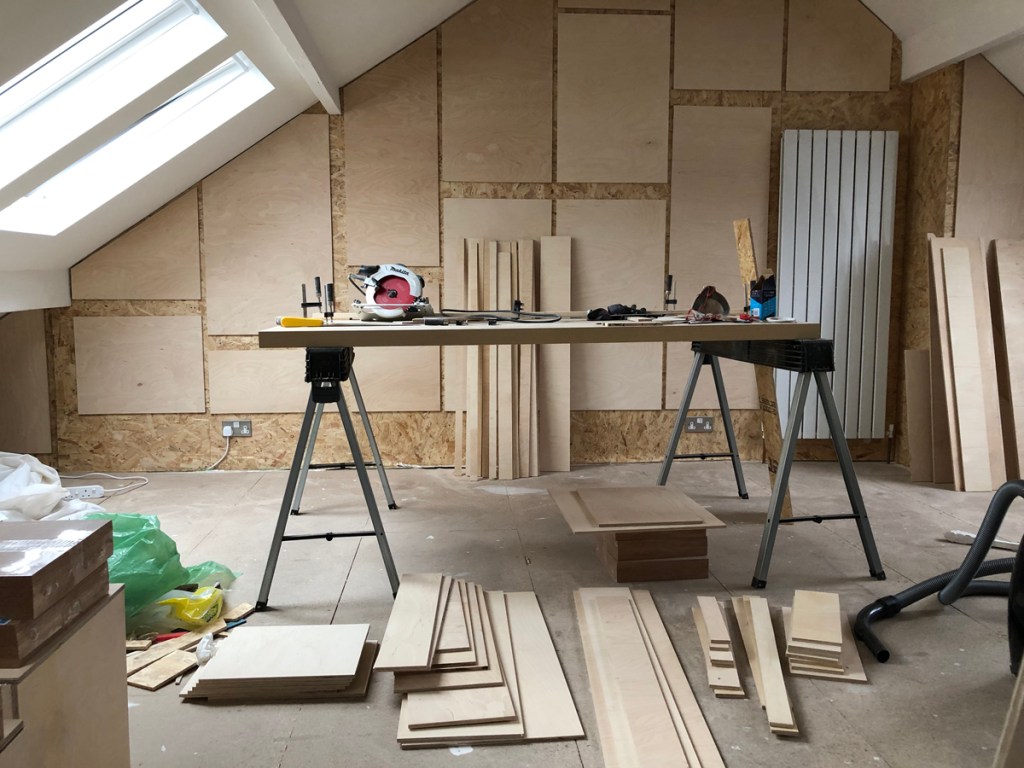
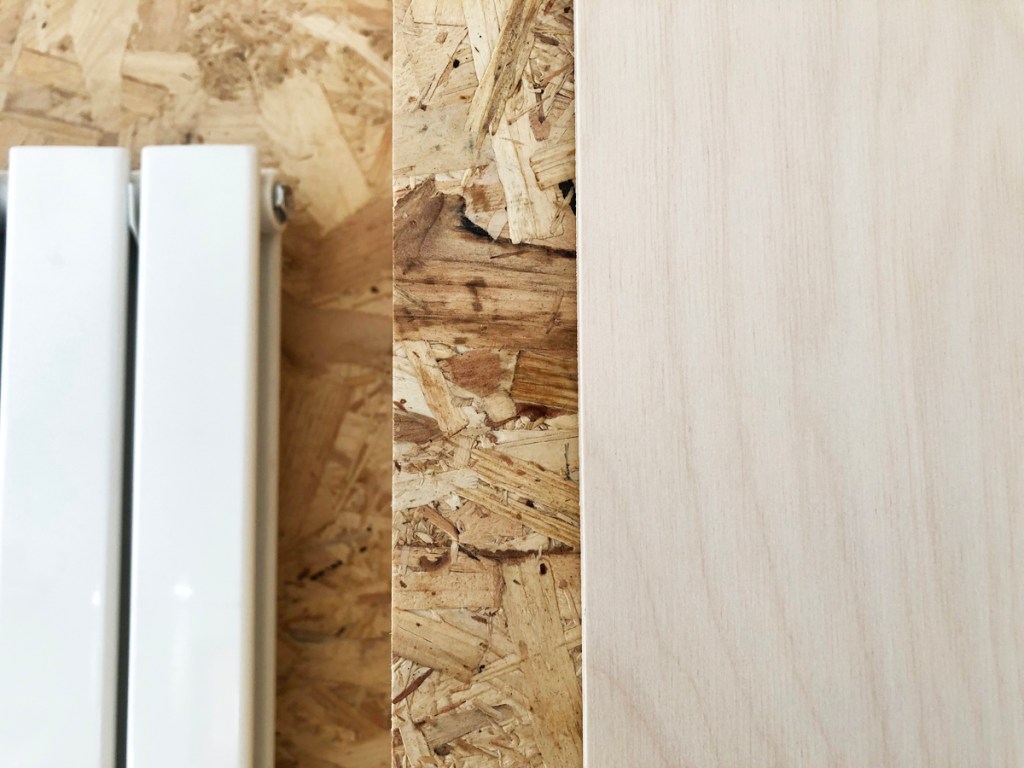
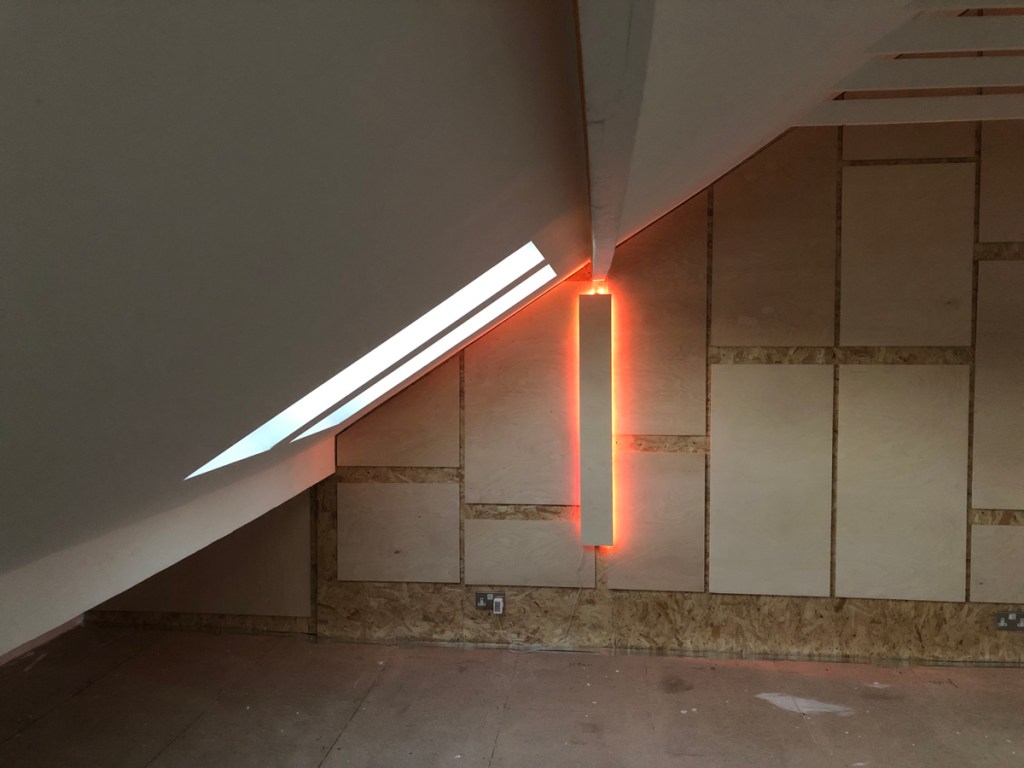
The combining of alley cat utilitarian OSB board and with the fine airs of birch plywood was entirely accidental, exciting and original for me (I’ve seen it since) and helped overcome a big problem with solo installation.
“The Eclipse” – ad hoc wall lighting.
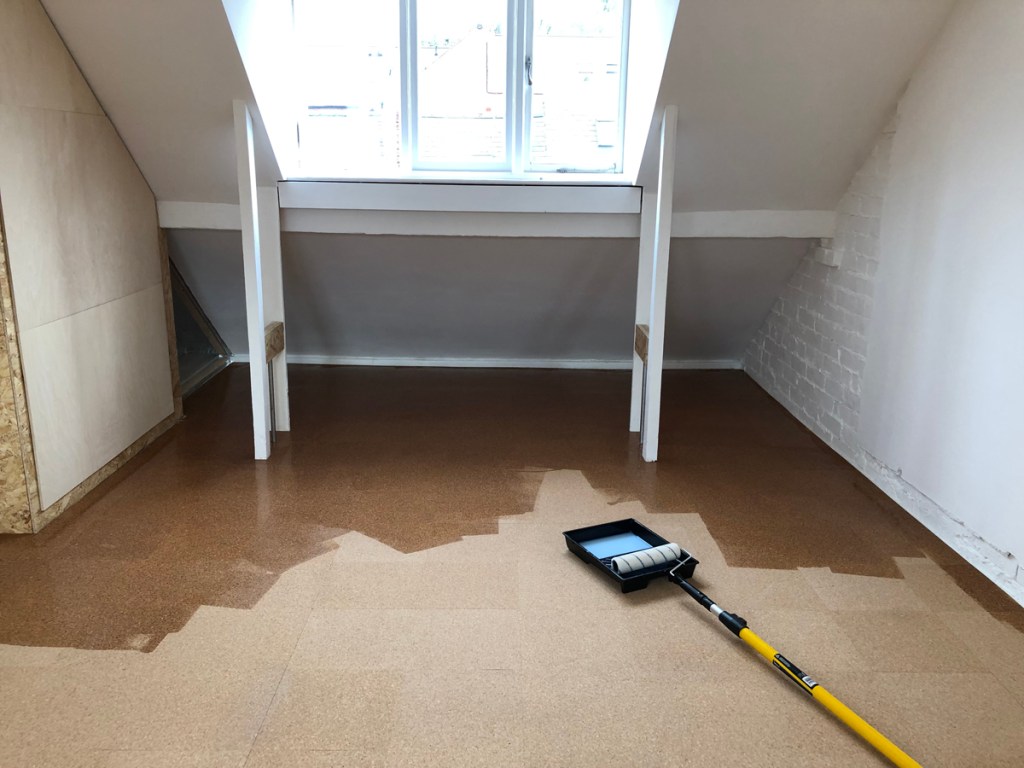
Cork tiles laid and sealed.
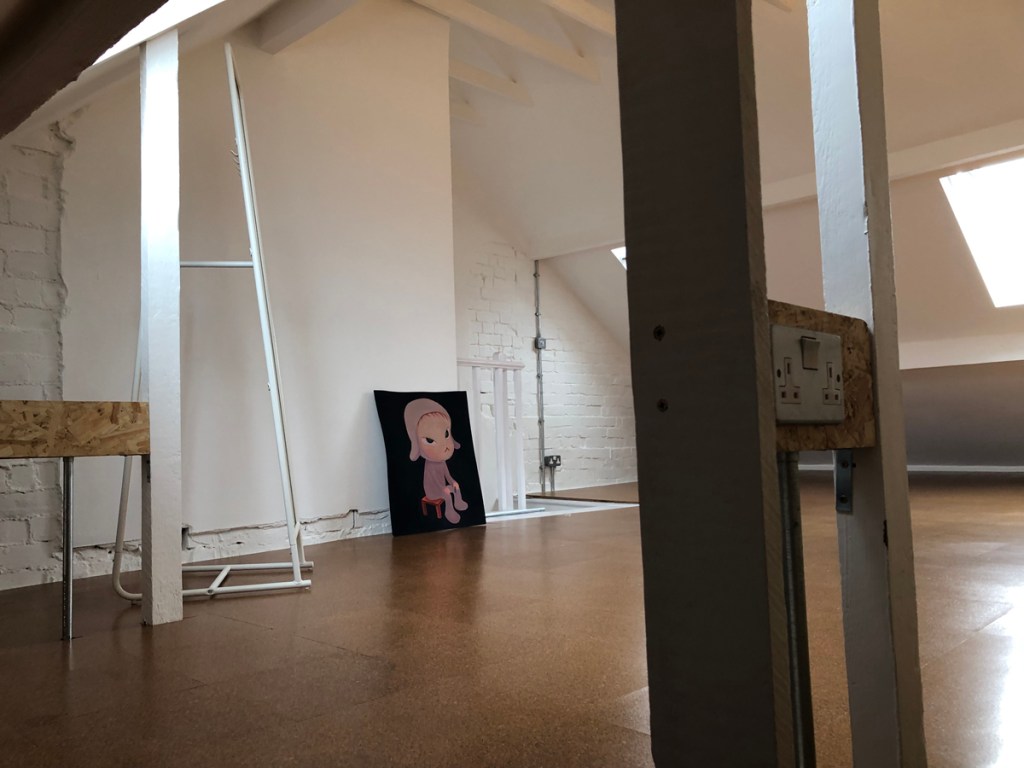
And completion – sulky reception!
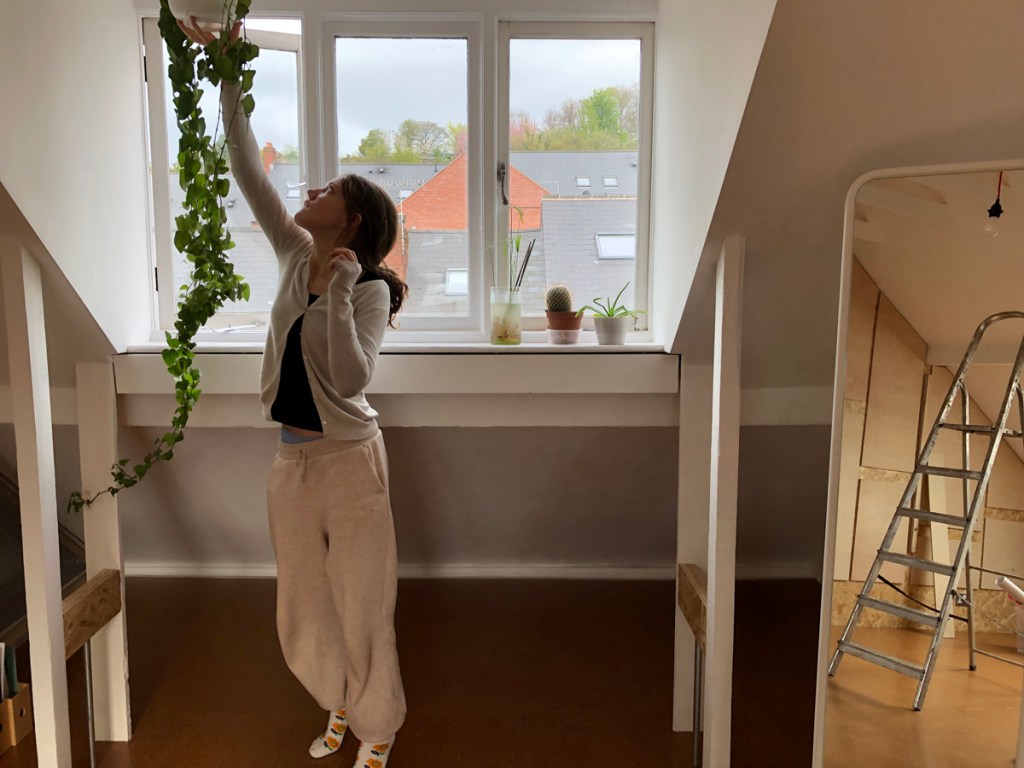
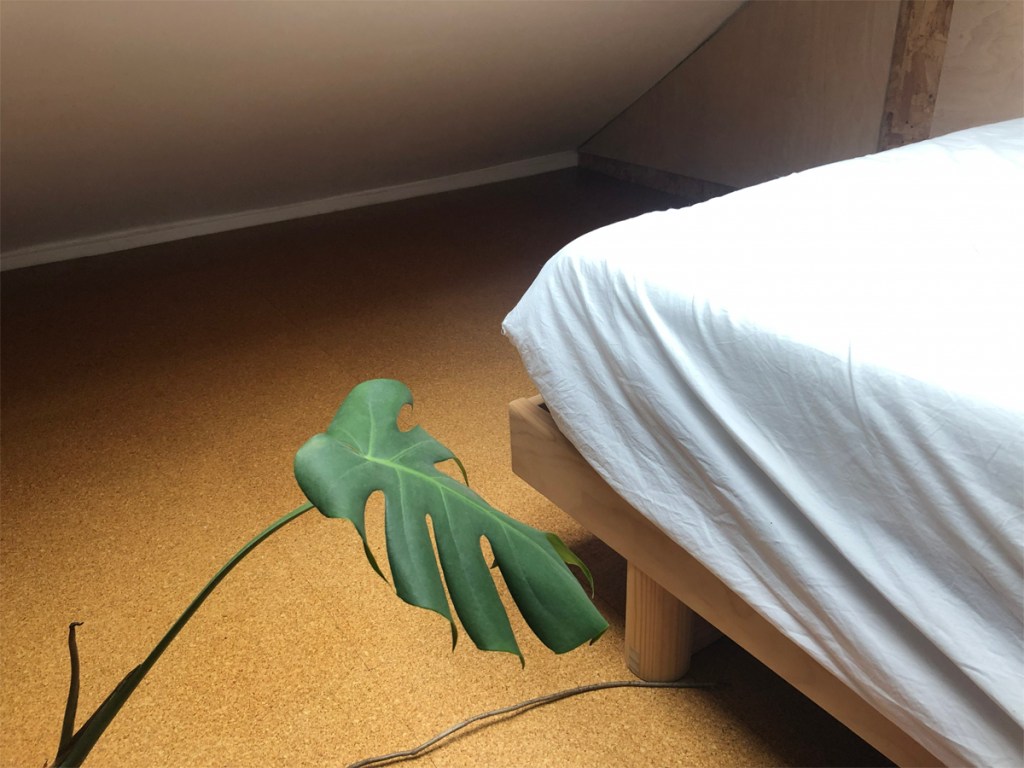
Green adornment…
Shelves for display…and poster (aagh!)
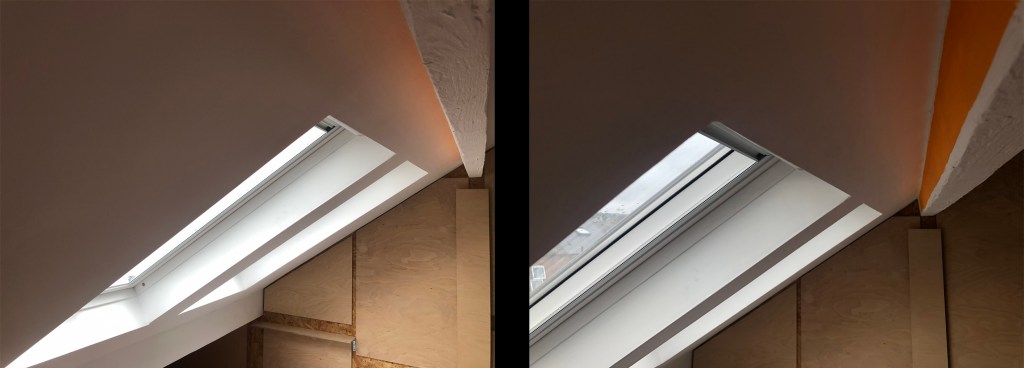
Shifting vistas and surprising effects – sun from both sides throughout the day.

An injection of warmth – light reflected from an orange-painted strip that is not normally seen, seen here on a rainy day.
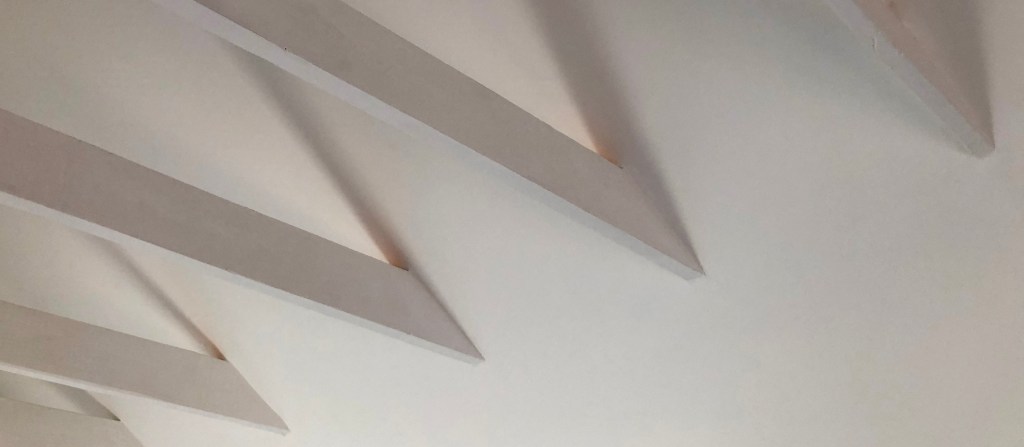
And more subtle but still perceptible with the orange paint applied to the top of the ceiling joists (just close to the sloped ceiling only).
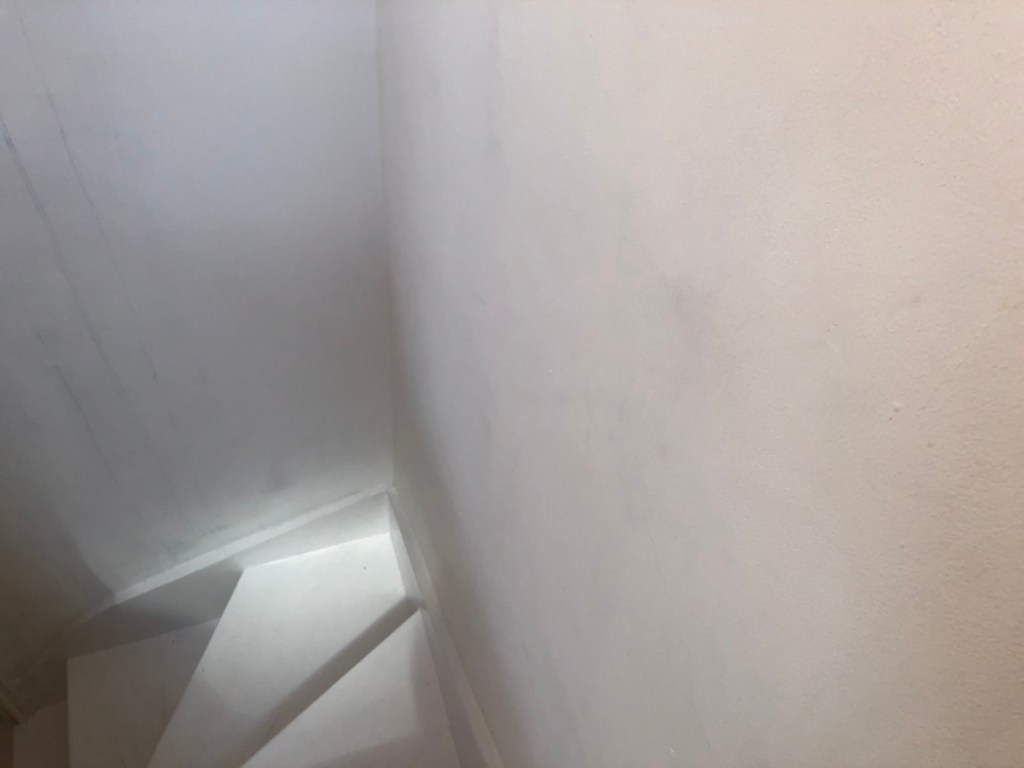
The small rooflight delivers light down into the stairwell- the Attic Spirit just seen- and instead of ascending into gloom you are drawn up by bright light which is a welcome psychological shift.
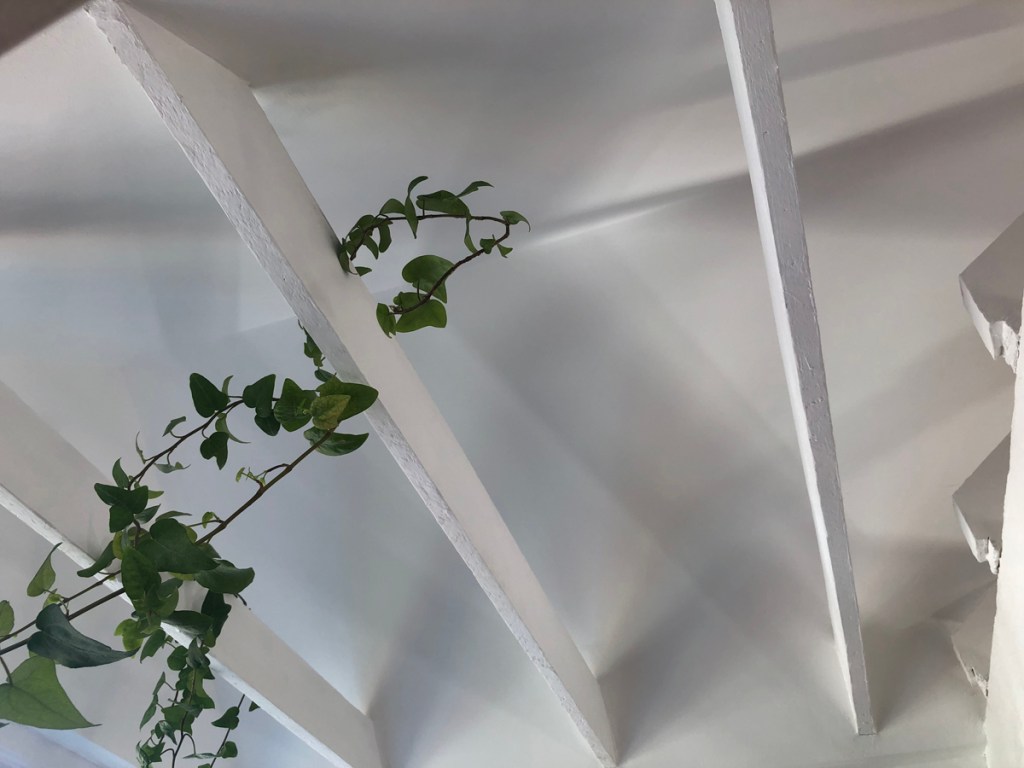
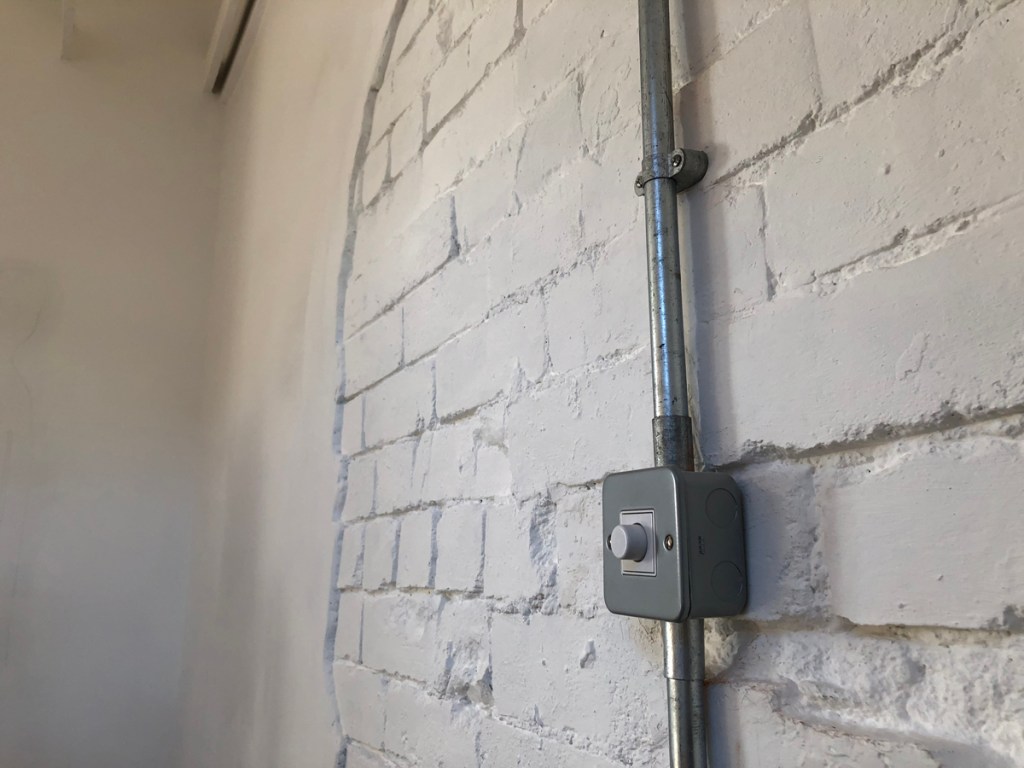
The aesthetic celebrates exposed structure with every imperfection unified into the whole with coats of white paint, and galvanised conduit standing bright, glinting and blemished.
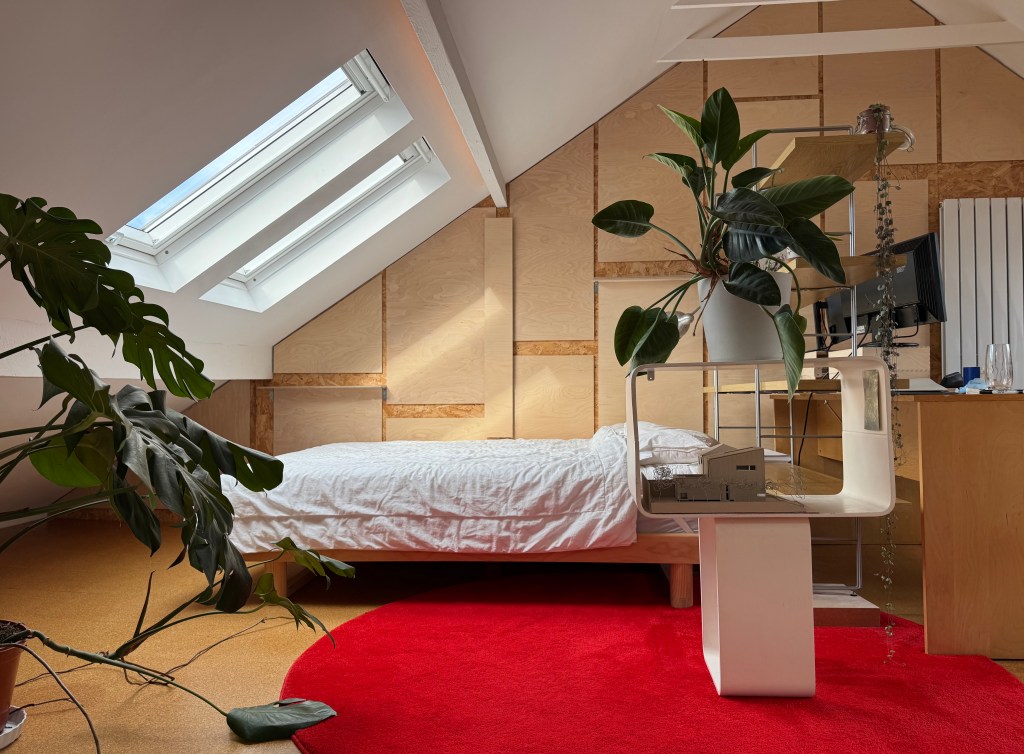
The value of empty, unadorned, expansive space achieved…
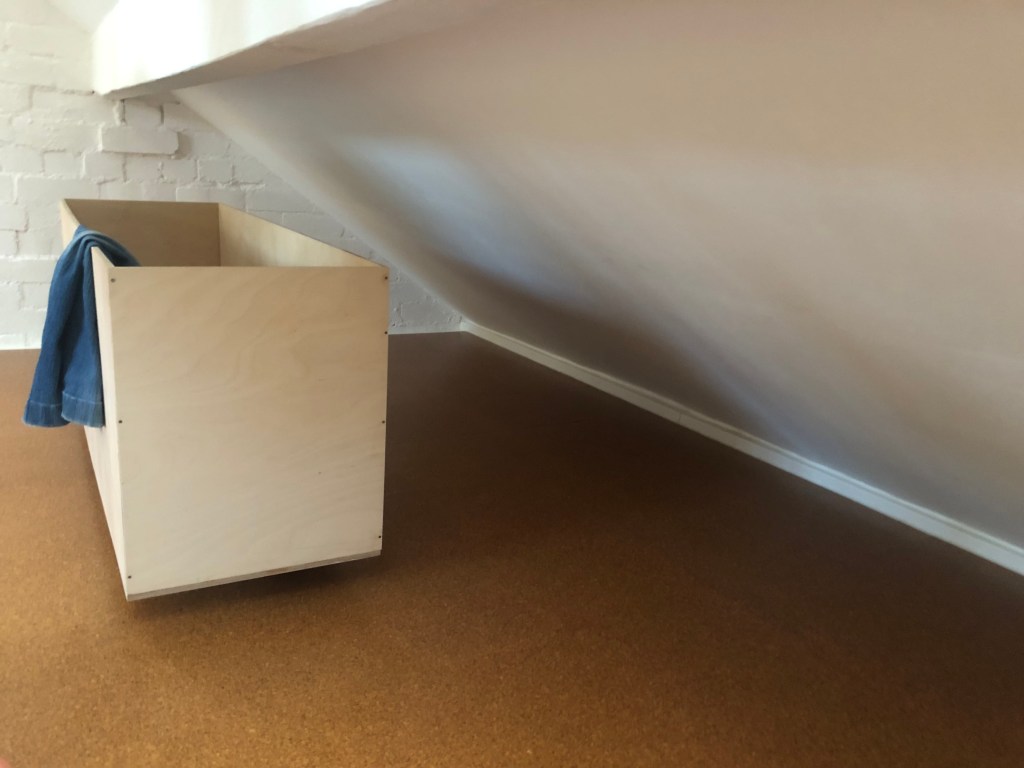
But emptiness sometimes needs a counterpoint object to create spatial harmony- this clothes trough on rollers from leftover plywood has the right presence and has the valuable function as a clothes dump so deep that they most often can’t be seen- or remembered!
That was over two years ago and the space now alternates between stripped back architectural studio and bedroom for university holiday returns.
The flopped leaf has been removed, the plants are thriving and the space is testimony to ideas Studio En holds dear.
Interested parties are more than welcome to come and pay a visit and experience the space for themselves- just drop a line on the enquiries form.

Leave a comment